In some cases, the DevOps team may need to checkout multiple github repositories in the current working directory of the pipeline. By default the pipeline will download the code of the repository where it belongs.
The below pipeline will download a github repository based on a parameter that user provides. In order to accomplish that you will need a service connection with your github account/organization.

Then using the below pipeline you can download a repository with a specific branch by providing the repository name.
trigger:
- main
pool:
vmImage: ubuntu-latest
parameters:
- name: repoparam
type: string
default: reponame
- name: branchparam
type: string
default: main
variables:
- name: repositoryvar
value: ${{parameters.repoparam}}
- name: branchvar
value: ${{parameters.branchparam}}
resources:
repositories:
- repository: gitrepo
type: github
name: geralexgr/$(repositoryvar)
ref: $(branchvar)
endpoint: geralexgr
steps:
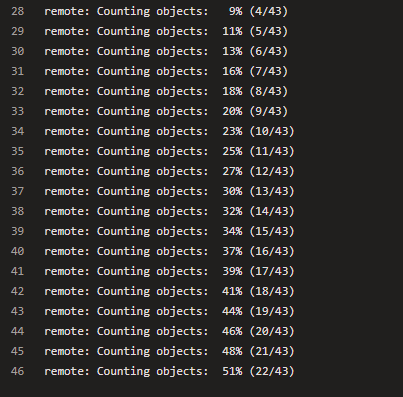
- checkout: gitrepo
displayName: download repository
For example given that I have created a repository geralexgr/terraform-az-lin-win I will provide only the name of it terraform-az-lin-win and the main branch.

When running the pipeline the selected repository will be downloaded into C:agent/work/buildID/s or /home/vsts/work/buildID/s