Posted on Leave a comment

Cannot change boot order VMware – items cannot be modified in user mode

Recently I had a problem changing the boot order on a Windows VM hosted on vSphere 6.7 with BIOS configured as boot software.

When I tried to change the boot order I could locate the message:

All items on this menu cannot be modified in user mode. If any items require changes, please consult your system Supervisor.

As a result I could not boot from the CD device. This happens because the boot order is defined on the .vmx file of the virtual machine. In more detail the bios.bootOrder attribute should be changed accordingly.

Download and edit .vmx. You should add cdrom as the first option.

Rename the existing .vmx for backup purposes


Force a BIOS boot on setup screen

Upload the .vmx file on VM datastore folder.

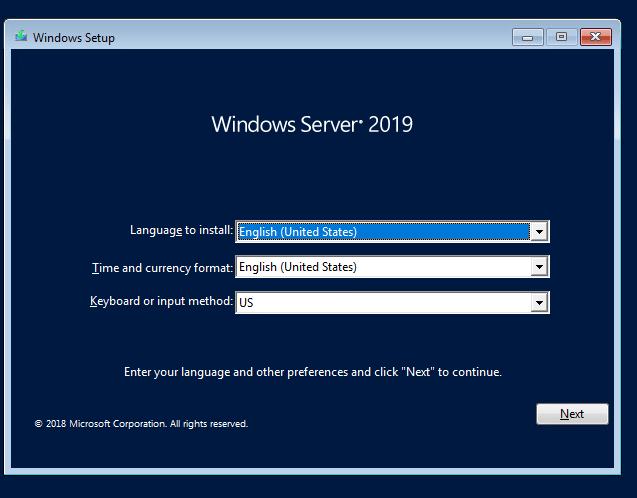
Then the boot will be performed from CD as expected.
Posted on Leave a comment

Ansible loop over nested dictionary subelements – list object has no attribute

Sometimes it could be tricky in Ansible to loop over a nested key-value list. Take for example the below dictionary which includes a nested list of disks. The upper element of the .yml file is vms which includes name, folder, cpus, sockets, memory and disk.

The disk element consists of disksize and disktype. This .yml file has been created on a previous post which explains how to automatically provision VMware servers.

 vms:
 name: test1-ansible
 folder: ansible
 cpus: 1
 sockets: 1
 memory: 64
 disk:
  - disksize: 64
    disktype: thin
  - disksize: 100
    disktype: thin 

If you try to loop over this list you will probably get an error like list object has no attribute.

With the subelements command you can loop over your main list (vms) and access your nested one (disk) with a different index.

In order to retrieve the vm name you should use item.0. The nested values are placed under item.1

---
- name: test playbook 
  hosts: localhost 
  vars_files: vms.yml
  tasks:
    - name: loop over nested
      debug:
        msg: '"{{ item.1.disksize }}"  "{{ item.1.disktype }}"'
      loop: "{{ vms| subelements('disk') }}" 

By performing a debug print, we can successfully get the nested keys values.

Posted on 2 Comments

Configure passwordless authentication for ESXi – connect with publickey/privatekey

If you try to setup passwordless authentication for a Linux machine on your ESXi host and follow the same procedure that you would follow for a simple Linux box, the result will be a failure.

Normally you should do

ssh-keygen 

to create your pub, private keys and then

ssh-copy-id root@esxihost

to copy your keys on the esxi host. However this will not work and an additional step is required.

You should copy by your own the public key of your Linux machine to the ESXi host.

First of all enable ssh on the host and connect to the host.

The go to esxi and copy your public key under /etc/ssh/keys-root on authorized_keys. Keep in mind that permissions of this file should not be changed, otherwise it will not work.

After those actions you will be able to login passwordless on your esxi.

Posted on Leave a comment

There are no free physical adapters to attach to this virtual switch – VMware ESXi

In case you face the bug that is shown below on the screenshot, in order to add an uplink on your virtual switch you should use the command line and esxcli.

The command that is needed is below. In this particular example I wanted to add the uplink with name vmnic1 on virtual switch vSwitch0

esxcli network vswitch standard uplink add --uplink-name=vmnic1 --vswitch-name=vSwitch0