In some cases you may need to use Invoke-WebRequest of powershell as a correct result with status code of 404. A use case for this scenario would be a smoke test for a particular service or URL. In newer powershell versions you can use SkipHttpErrorCheck in order to stop powershell from failing the script.
The below example is a simple Web request that will fail on Powershell <7 with an exception if a 404 response is returned from the webpage.
$req = Invoke-WebRequest -Uri $url -Method GET
The parameter that you could use with Powershell 7++ and you would not have the powershell task failed would be.
$req = Invoke-WebRequest -Uri $url -Method GET -SkipHttpErrorCheck
In order to bypass this issue you could handle the exception on Powershell <7 and add your logic inside the catch block. For example
Following my previous article about resources deployment on Azure using terraform, I will now explain how you could deploy those resources through Azure DevOps.
Then you will have to create a resource group and a storage account inside. You will need the storage account to create a container that will hold you tfstate file.
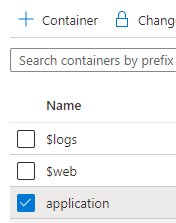
Under your storage account select containers and add a new container. I created one named terraform that will be used in the pipeline.
Pipeline explanation:
Pipeline contains three tasks. The first task will install terraform tools. The second one will initialize terraform in your working directory. Based on the user input provided in the pipeline the appropriate resource will be deployed. The code on the github contains two separate directories, one for windows and one for linux machines.
Selecting windows will deploy a windows VM using terraform
The third task will apply your terraform configuration. The working directory is generated automatically from the provided parameter.
Terraform init variables:
          - task: TerraformTaskV2@2
            displayName: terraform init
            inputs:
              provider: 'azurerm'
              command: 'init'
              workingDirectory: '$(Build.SourcesDirectory)/${{ parameters.image }}' // your working terraform directory
              backendServiceArm: 'AzureMSDN' // azure devops service connection with your subscription
              backendAzureRmResourceGroupName: 'terraform' //resource group name
              backendAzureRmStorageAccountName: 'geralexgrstorageaccount' //storage account name
              backendAzureRmContainerName: 'terraform' //container inside storage account
              backendAzureRmKey: 'terraform.tfstate' //state file name inside your storage account
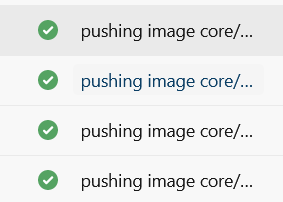
On a pipeline that I was creating I wanted to push multiple docker images on an Azure container registry based on a list. In order to do that I used the docker@2 task on a loop providing the images that I had to push as a parameter. Code is attached below.
This file contains hidden or bidirectional Unicode text that may be interpreted or compiled differently than what appears below. To review, open the file in an editor that reveals hidden Unicode characters.
Learn more about bidirectional Unicode characters
This task will run steps based on the images you provide on the parameters list. An important note is that you need to have the image named accordingly in order to get a successful result. For example if you need to push on geralexgr.azurecr.io you will need to have your images named as below.
In this article I will demonstrate how you can write a simple .NET console application to write data inside a blob container on an Azure storage account.
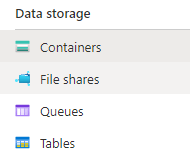
Storage accounts support the below four data structures.
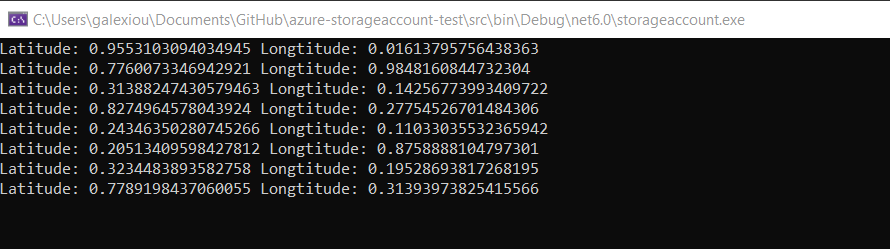
For the cases of an application, I had to write every x seconds data on a file in order to get the coordinates of an app. For this purpose I selected a storage account container on which I will store the Latitude and Longitude in a .json format.
Inside my storage account I created a container which I will use named application.
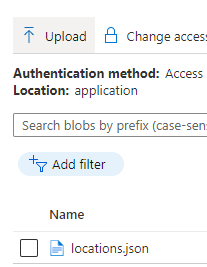
Inside application container I created a file named locations.json. This will be the file that will get updated from the mobile app.
My console app consists of two .cs files. One is the location class which will be my model for the serialization.
   public class Location
    {
        public Double Latitude { get; set; }
        public Double Longitude { get; set; }
    }
And the main code which consists of two functions. The RetrieveBlobContents function can read the stream content of a requested file from the blob. As I have specific names for my scenario, I hard coded them on the application. My containerName is application and the file which I want to read is called locations.json
The WriteContentOnBlob function will serialize a random Location object and will update the file every 5 seconds. The result is accomplished by writing a file locally and pushing this local file on the blob storage. The content of the file will be first extracted on the current directory/data folder.
Program.cs
This file contains hidden or bidirectional Unicode text that may be interpreted or compiled differently than what appears below. To review, open the file in an editor that reveals hidden Unicode characters.
Learn more about bidirectional Unicode characters