It was a nice morning when I woke up and started surfing before going to work. Little did I know for what will happen that day. Outlook sent me a notification email, the one you can see below. At first I got shocked. I understood immediately that it was a spam email asking for money through crypto payments, but how did the sent it from my email address? The sender was me and the recipient was also me.
If you check carefully the email originator is the same email as the recipient. Did I got hacked? I instantly went to change my passwords and enable MFA option (yes you should do that before you get p0wned).

After contacting my host provider for logs (I wanted to make sure that the mail server was not affected) I started investigating the email. At first it seems like a normal one. By investigating further, I checked the headers.
Oups something seems strange here. The received from headers point an unknown host, the one that tried to trick me. Mister I could send you back the same email from your own address.
Return-Path: <support@brightdirectories.com>
X-Original-To: webmaster@geralexgr.com
Delivered-To: webmaster@geralexgr.com
Received: from cloudvpsserver.host.brightdirectories.com (unknown [64.91.244.139])

spf=pass (sender IP is 64.91.244.139) smtp.mailfrom=support@brightdirectories.com smtp.helo=cloudvpsserver.host.brightdirectories.com
This method of attack is called spoofing and you can read more details from the below article.
https://www.proofpoint.com/us/threat-reference/email-spoofing
Lets try to implement the same attack now, to understand how difficult this could be. The only thing that you will need is a linux machine running postfix and sendmail package. As simple as that and you become a spoofing hacker.
First things first, install and start postfix service.
yum install postfix sendmail; systemctl start postfix
Edit postfix configuration to allow all inet_interfaces.
vi /etc/postfix/main.cf

Then we will try the first spoofing attempt.
[root@centos-lab ~]# sendmail -v webmaster@blablabla.com < mail.txt
The attempt failed. What happened though? By checking the logs, I could find that mail server blocks some incoming messages based on spamhaus service.

Is that hard to bypass? Totally not. You have to go on spamhaus link and whitelist your IP address. The next time the service is updated, your email will be received from the mail server. I have to say that more advanced mail services like google, outlook provide much more sophisticated services to block spam than spamhaus.

By trying to send again my email, I successfully spammed my own mailbox. Lets try a google account this time. I will try to send an email from my personal domain account email to my gmail account. However this would be a spam email as the origin will be a local postfix service that tries to impersonate the real owner.
sendmail -v my_Gmail < mail.txt
You can find my mail.txt contents below.
From: webmaster@blablabla.com
Subject: spoofing email attack this email was sent from an unknown sender using postfix
Voila. I received a spam email from a sender that is not the original one.
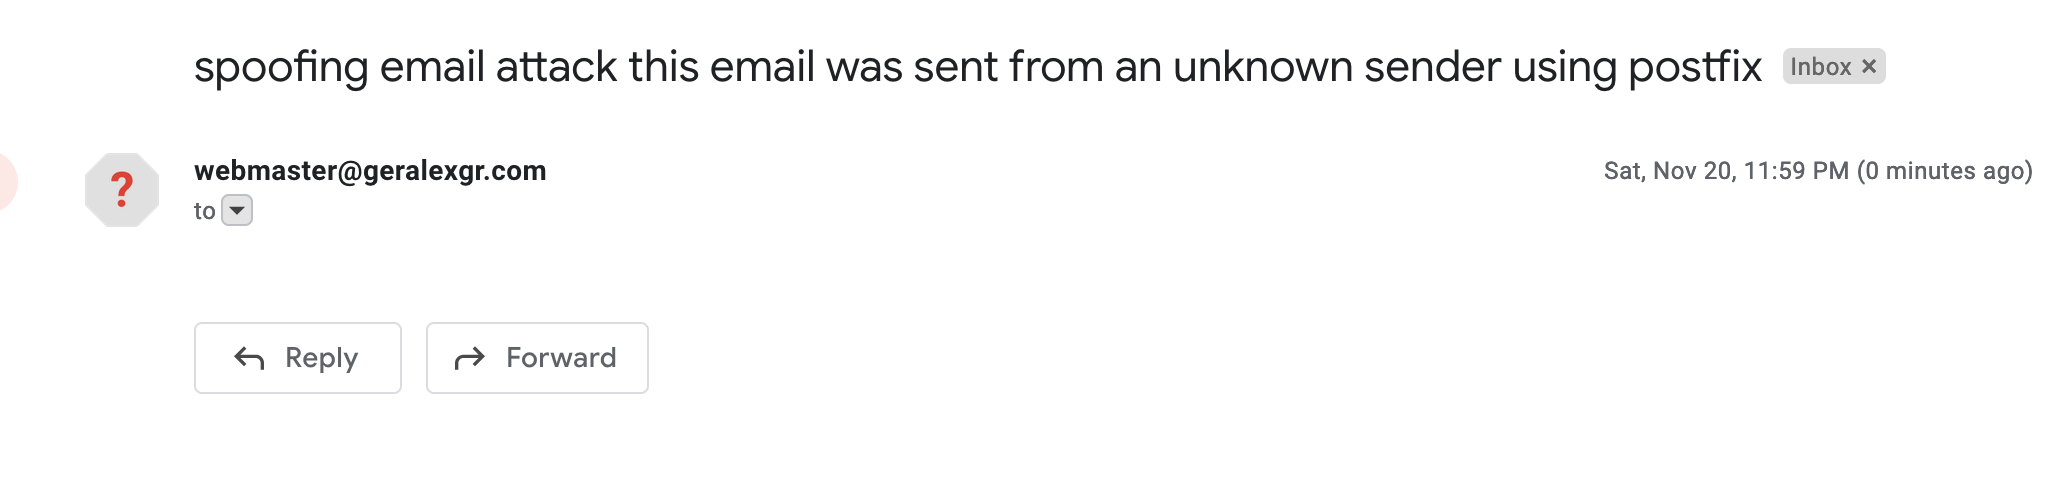
If you check more carefully, google adds a question mark and informs you that it could not verify the owner of the email. However the spam went directly to my mailbox and did not arrive on spam.

If you check the headers again, you will verify that the originator is fake
Original Message
Message ID	<202111202159.1AKLxI8x016745@geralexgr.com>
Created at:	Sat, Nov 20, 2021 at 11:59 PM (Delivered after 2 seconds)
From:	webmaster@blablabla.com
To:
Subject:	spoofing email attack this email was sent from an unknown sender using postfix
SPF:	FAIL with IP 2.84.53.88 Learn more


Download Original
Copy to clipboard

Delivered-To:
Received: by 2
Received: from geralexgr.com (IP_address.
Received-SPF: fail (google.com: domain of root@geralexgr.com does not designate IP as permitted sender) client-ip=xxxxxx;
Authentication-Results: mx.google.com;
       spf=fail (google.com: domain of root@geralexgr.com does not designate 2.84.53.88 as permitted sender) smtp.mailfrom=root@geralexgr.com
Received: from geralexgr.com (localhost [127.0.0.1]) by geralexgr.com (Postfix) with ESMTPS id 88E031099F6B for <xxxxxx>; Sat, 20 Nov 2021 23:59:18 +0200 (EET)
Received: (from root@localhost) by geralexgr.com (8.15.2/8.15.2/Submit) Sat, 20 Nov 2021 23:59:18 +0200
Date: Sat, 20 Nov 2021 23:59:18 +0200
Message-Id: <202111202159.1AKLxI8x016745@geralexgr.com>
From: webmaster@geralexgr.com
Subject: spoofing email attack this email was sent from an unknown sender using postfix
As you can see from headers, the real sender is root@localhost and not the sender that is shown on gmail. You can also locate the incoming IP address.
To conclude we examined how one could spoof your email account and impersonate your self. Be very careful on the emails you receive and double check the originator. It is very easy to get hacked with this technique.


