When you read the title you may think that this article can be a clickbait. That’s the reason you should continue reading until this end to figure out that deploying k8s application with Azure DevOps and terraform can be very easy when you create everything through infrastructure as code.
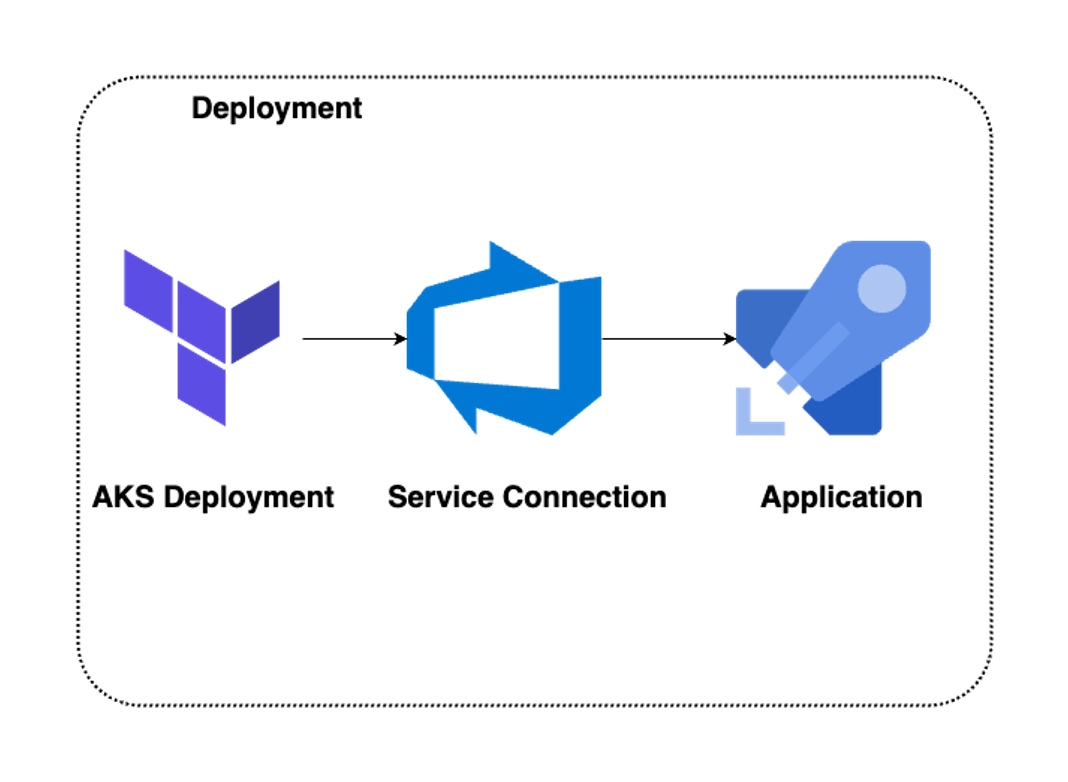
In this example we will utilize Azure DevOps pipelines and terraform to deploy a yaml definition on an AKS cluster that runs on Azure. For this output we will need three steps.
The first step is to create an AKS cluster on Azure. When we have the infrastructure ready we can then continue and bind Azure DevOps pipelines with the AKS resource so that we can deploy on the cluster. The last step is to have the yaml definition of the application that we need to deploy and run the application deployment process inside azure devops.
The project is structure as shown in the below picture.
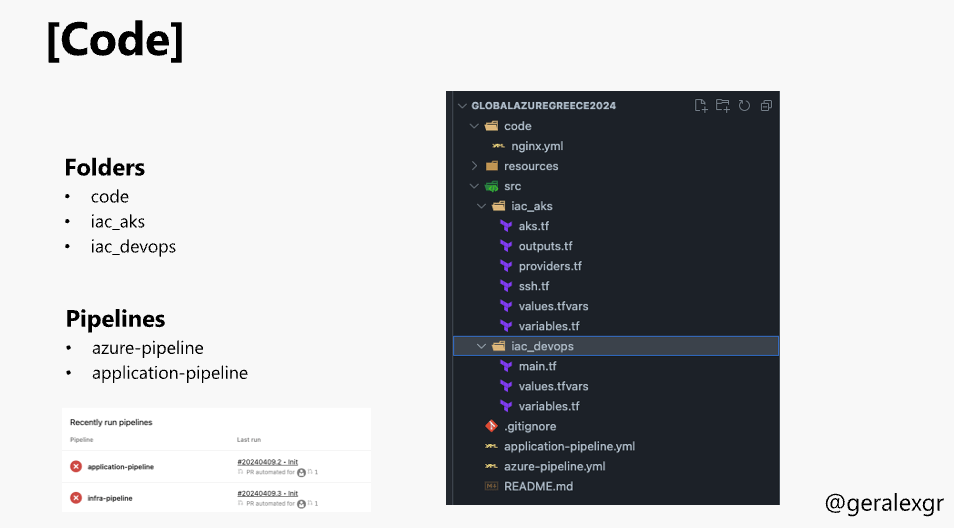
- The code folder contains the yaml k8s definition file.
- The iac_aks creates the AKS cluster inside Azure
- The iac_devops creates the Azure Devops resources needed (Service connection with AKS)
- And finally the azure-pipeline and application-pipeline are the pipelines that will run the automation and do the job.
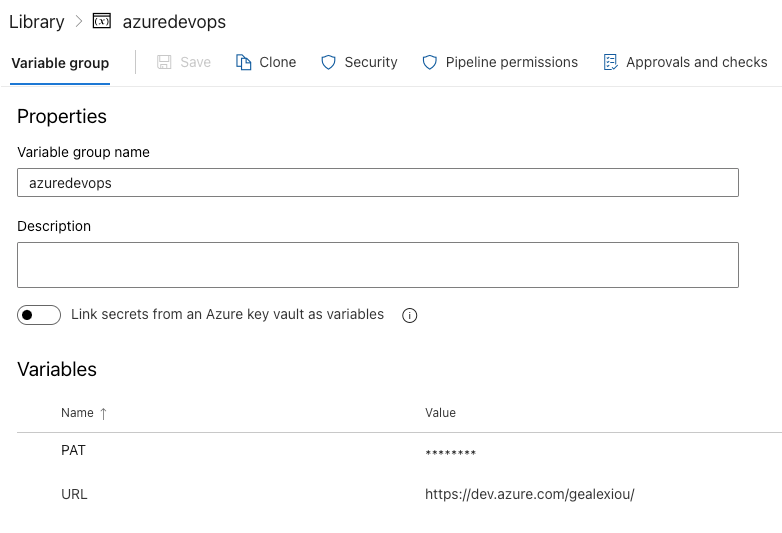
In order to try out the example the first think that you need to do is to create a variable group inside azure devops and store two values. The first value will be the secret Personal access token that will be used to create the Azure DevOps resources. The second one is the URL of your Azure DevOps organization.
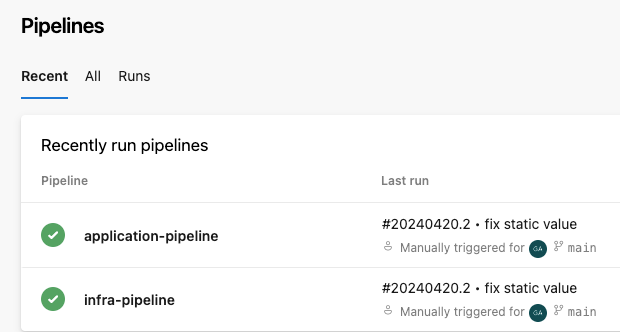
When those are set you will need to change the tfvars files and add the names that you prefer for the resources creation. Finally you can have your deployment ready with just two clicks. One for the infra pipelines and one for the application pipeline.
Code is hosted on Github
https://github.com/geralexgr/globalazuregreece2024


