As security is one of the most important things on your infrastructure, you should enable logging for all commands and actions that a user performs (logins included).
In this article I will explain the procedure using auditd which comes preinstalled with many Linux distributions.
First things first, check if auditd is already installed and started on your system.
Then go to the rules file and open it with your favorite editor.
vi /etc/audit/rules.d/audit.rules
Add the below two rules to the end of the file.
-a exit,always -F arch=b32 -S execve -k auditcmd
-a exit,always -F arch=b64 -S execve -k auditcmd
Then execute on terminal:
augenrules
You should then restart the service. Trying to do so with systemctl you may encounter the below error:
Execute auditd stop and start using the below commands:
service auditd stop
service auditd start
Verify existing rules:
auditctl -l
You are now ready and you can test the logging functionality. Perform a sudo action with a non root user.
For testing purposes I had to deploy a wordpress installation and perform some work. As the standalone installation with wamp/mamp/xampp software would require time, I chose docker and containers for the deployment.
You can use the below docker-compose.yml file and have a working site stack in less than a minute.
On a previous article I described how you could create your self hosted agent to run your pipelines on Azure Devops. In this article I will explain how you can use this agent to deploy resources on your local Kubernetes cluster. As a prerequisite you should already have a kubernetes cluster locally. You can do that by installing Docker and enable the option for a kube cluster.
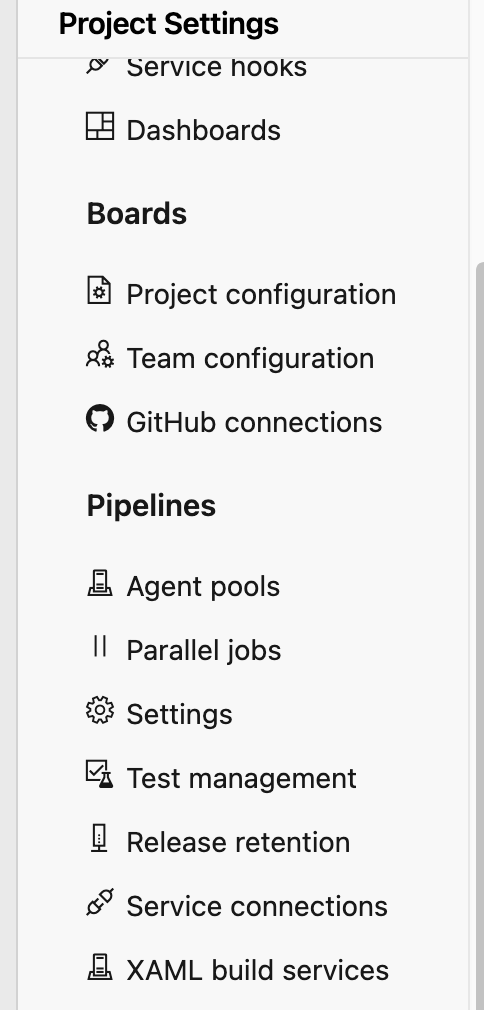
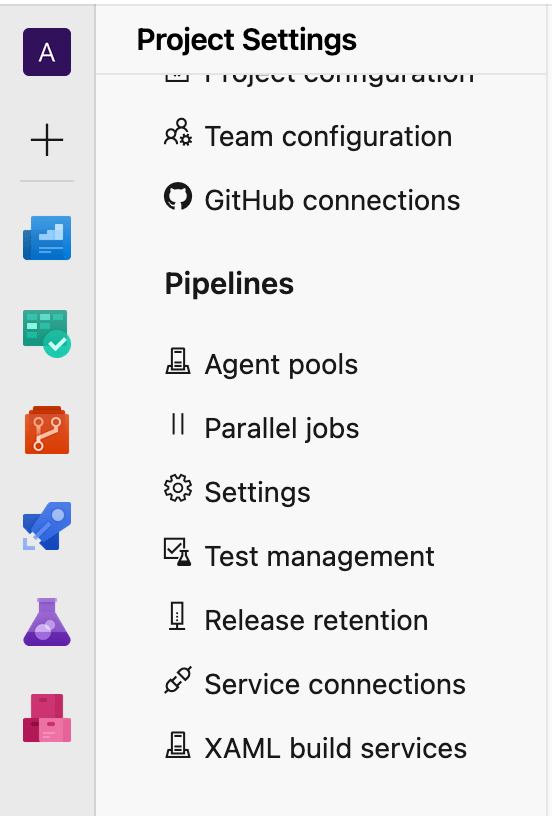
First things first you should connect your local Kubernetes cluster with Azure devops. For that reason you should go on Project settings -> Service connections and select Kubernetes
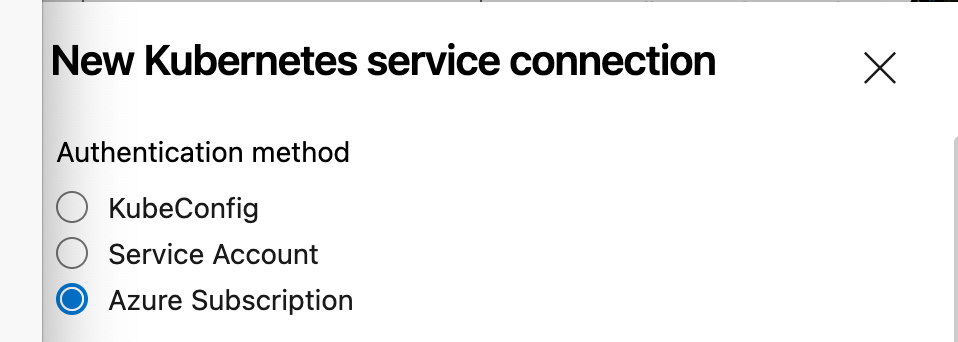
You can select between three different options. I selected kubeconfig
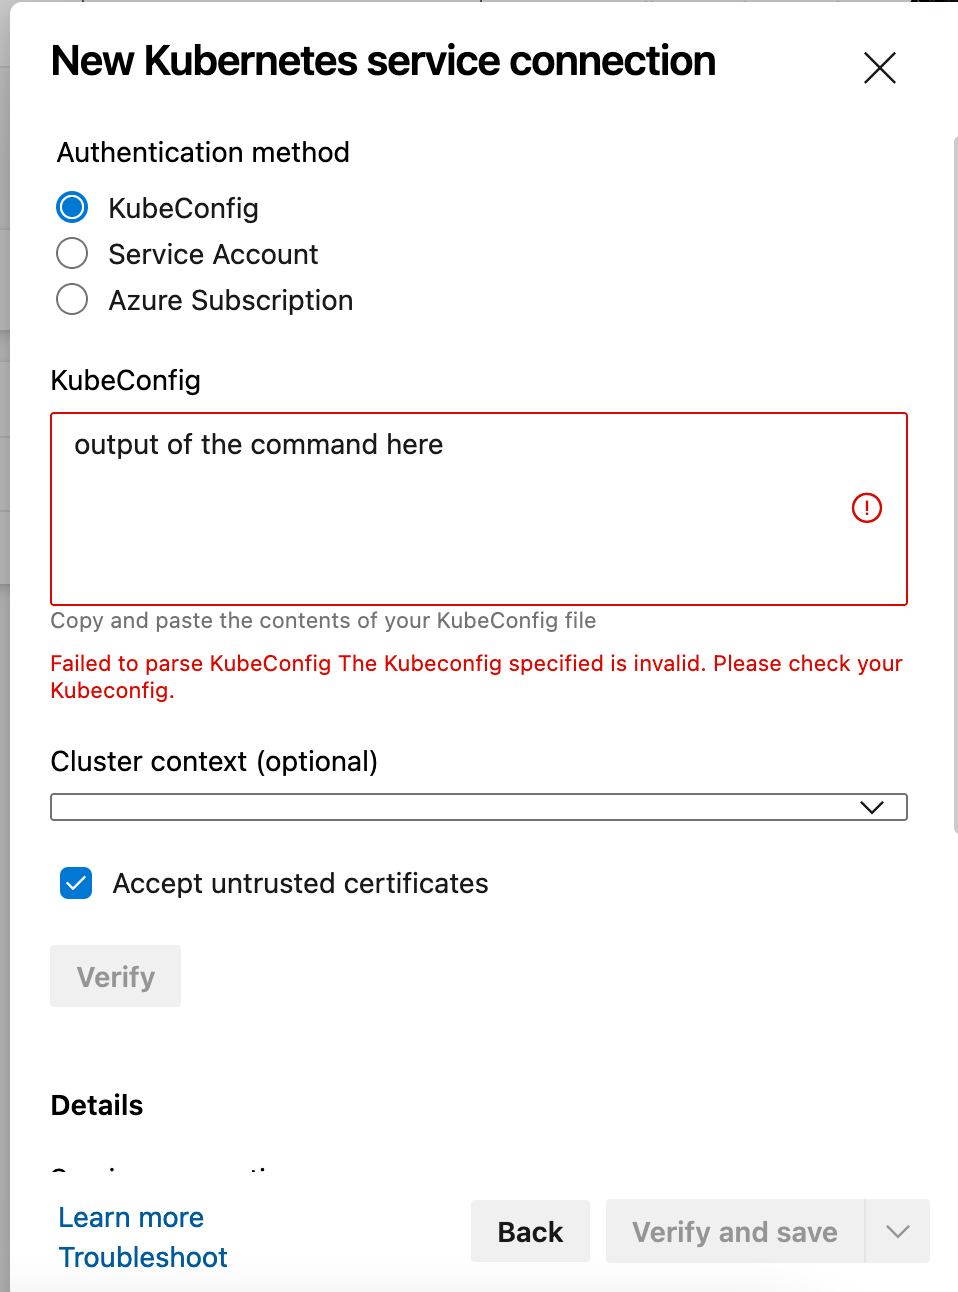
Get the output of the below command and paste it on the box. Then select untrusted certificates and add press verify and save.
kubectl config view --raw
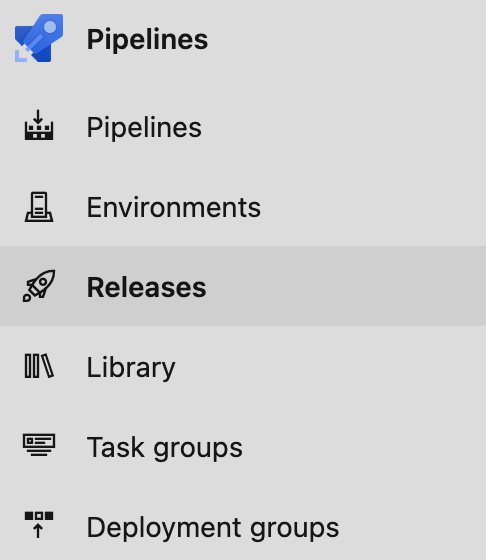
Then you should go and create a release pipeline. Go on releases tab and press create release.
In the setup of the release pipeline you can change the trigger from automatic to manual. You should select your build pipeline that will trigger the release. In my case I selected the one I created on a previous article.
On the tasks of the release pipeline you should select the agent pool, as a result your self hosted agent. Depending on which pool you placed your agent you should add it appropriately. In my case it was on the default pool.
Then you can go and create the tasks of the release.
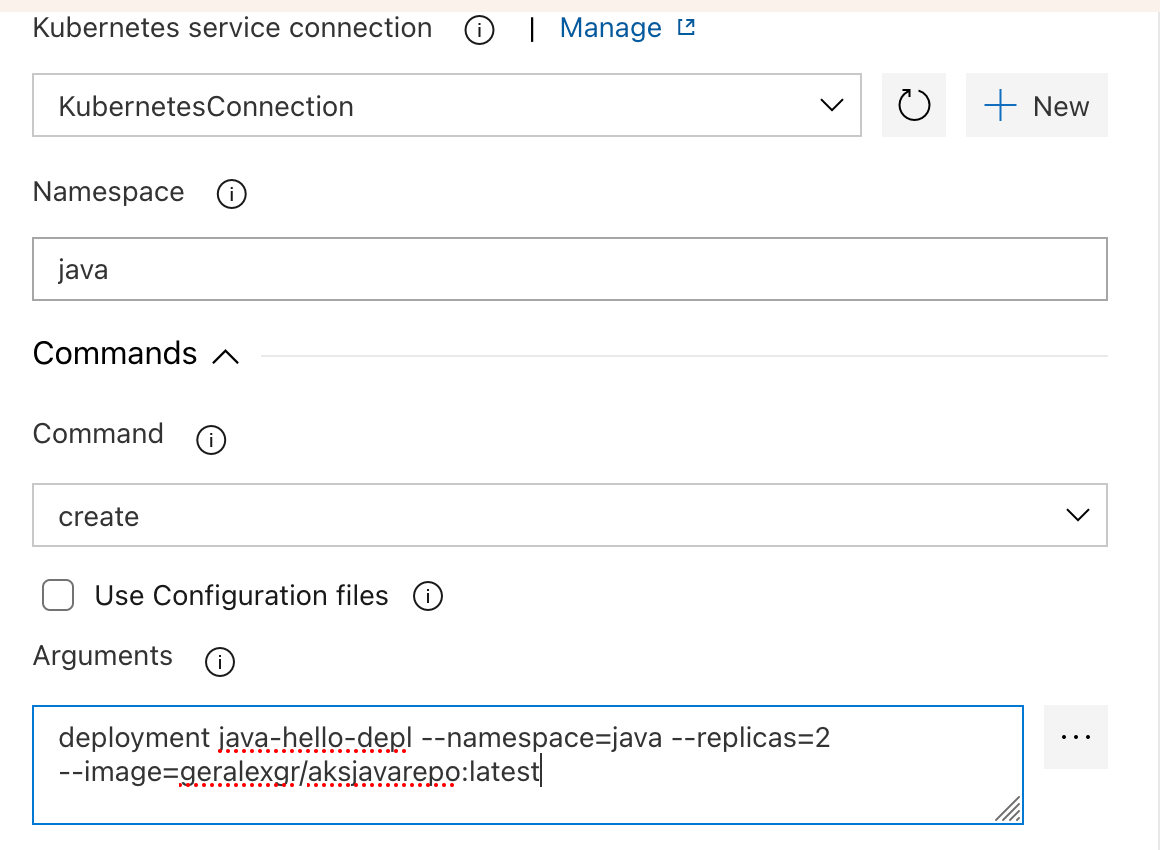
I chose two tasks, one for a deployment creation through kubectl commands and another one for a service exposure. You could also apply a .yml config file.
In this deployment I selected a sample image I created on a previous article, selected the namespace, added the requested parameters and selected create as the command. KubernetesConnection is the service connection that you will create and add on the first steps.
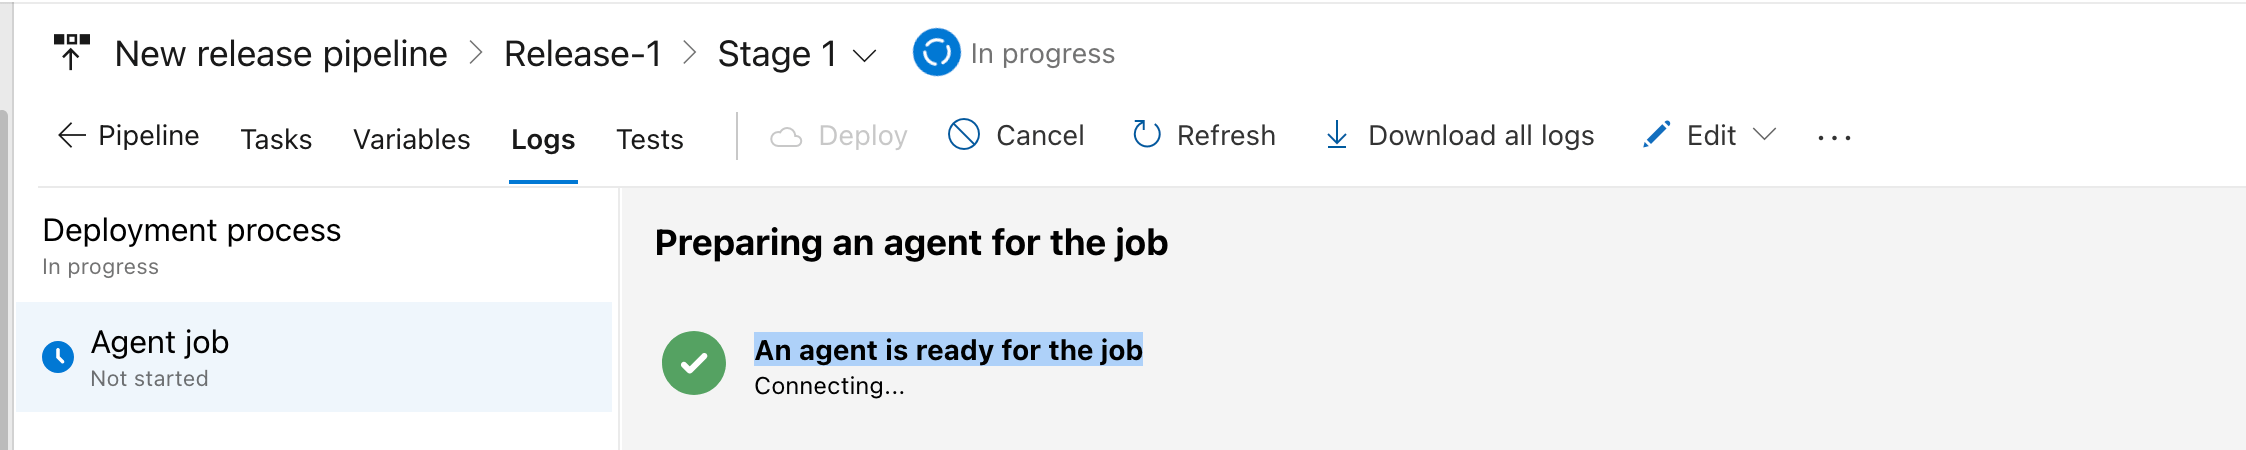
When you run the release pipeline you should see that the self hosted agent will be prepared for the run.
The job will start on your locally deployed agent.
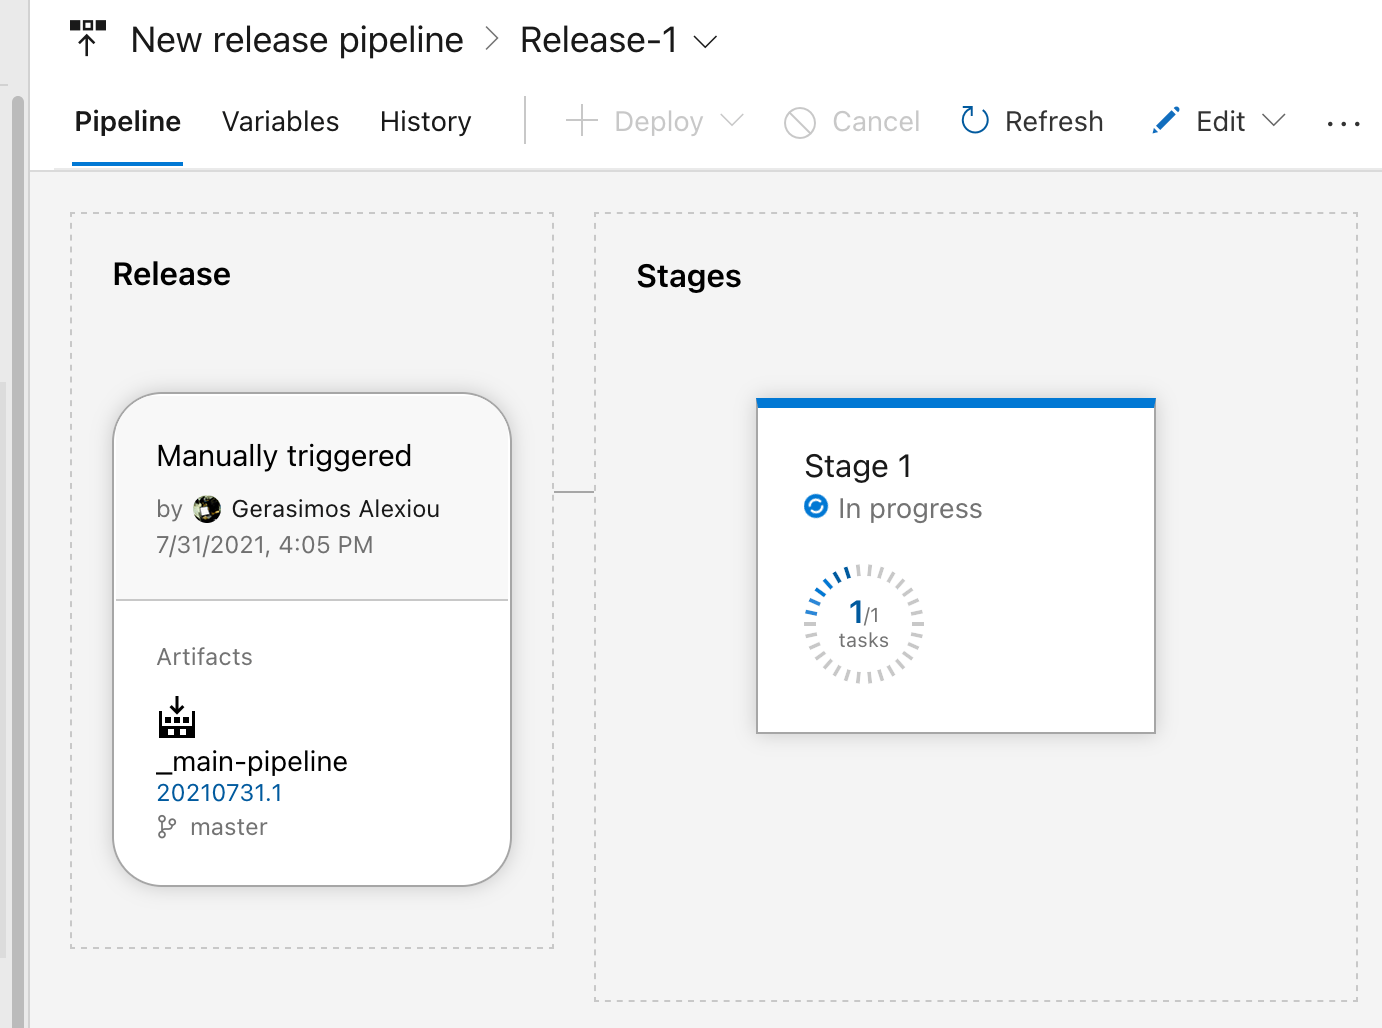
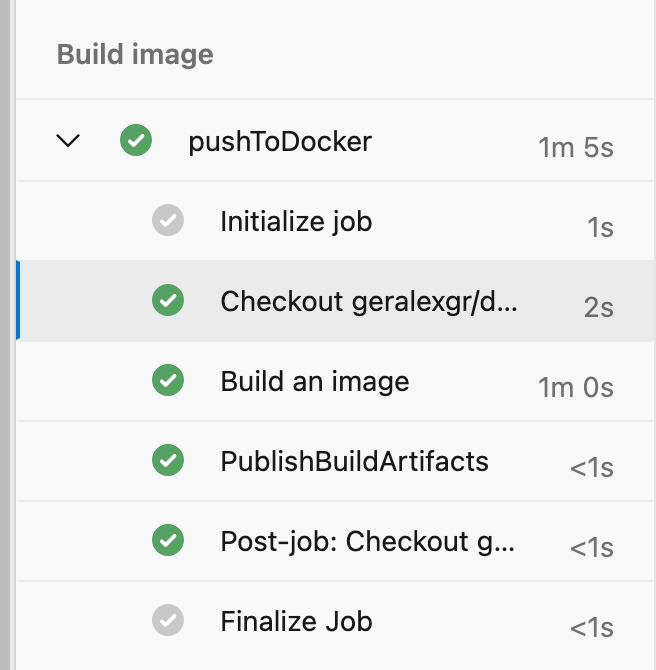
The stages will start running.
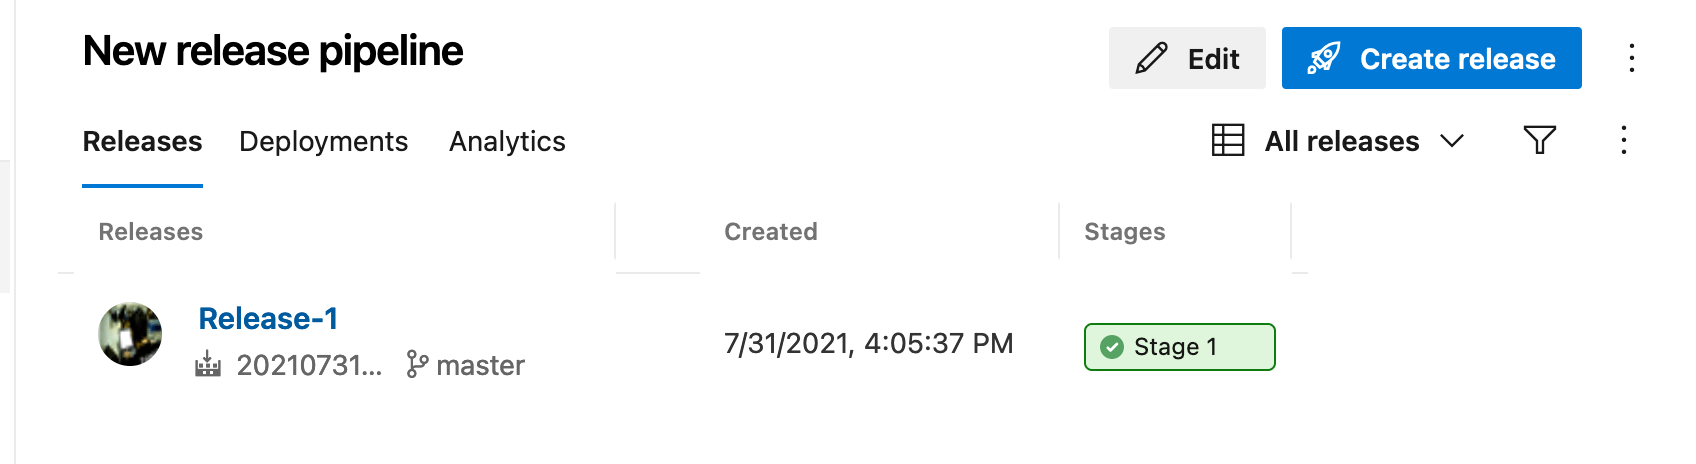
Taken into account that everything is correct with your commands and configuration the job will be successful.
The green button of result indicate the win of your try.
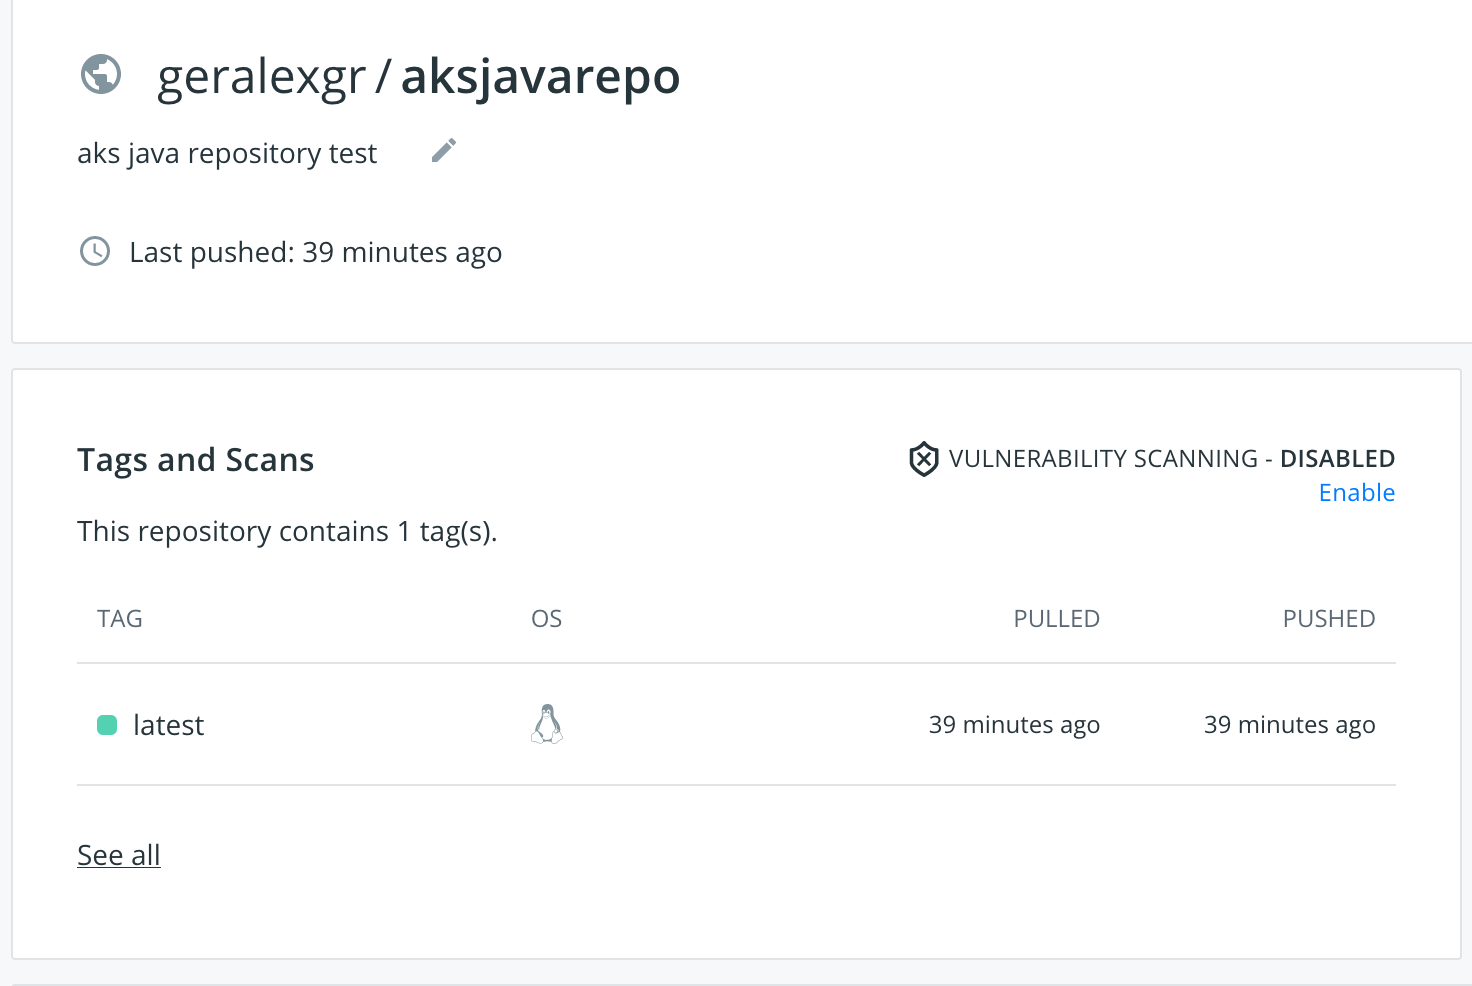
Azure Devops is the powerful Microsoft product for Devops solutions. In this article I will explain how you can create a build pipeline using predefined actions and tools provided in order to push an image to an external repository like Docker hub.
As a first step you should create two new service connections. As I am using Github, the one will be a github connection and a docker hub connection. To accomplish that you should go to project settings -> service connections and connect your accounts with your password credentials.
When you complete this step, the connected accounts will appear.
Then you should go to pipelines menu and create a new one. My pipeline has the name main-pipeline.
Azure Devops provides a large list of predefined tasks that will make your implementation easier and quicker. In my case I selected the build of a Dockerfile that will be listed in the Github repository.
In more detail the code will be checkout from the repository and the image will be created using a building machine that Azure provides from a shared pool of agents.