Posted on 1 Comment

Update variable group using Azure DevOps rest API – pipeline example

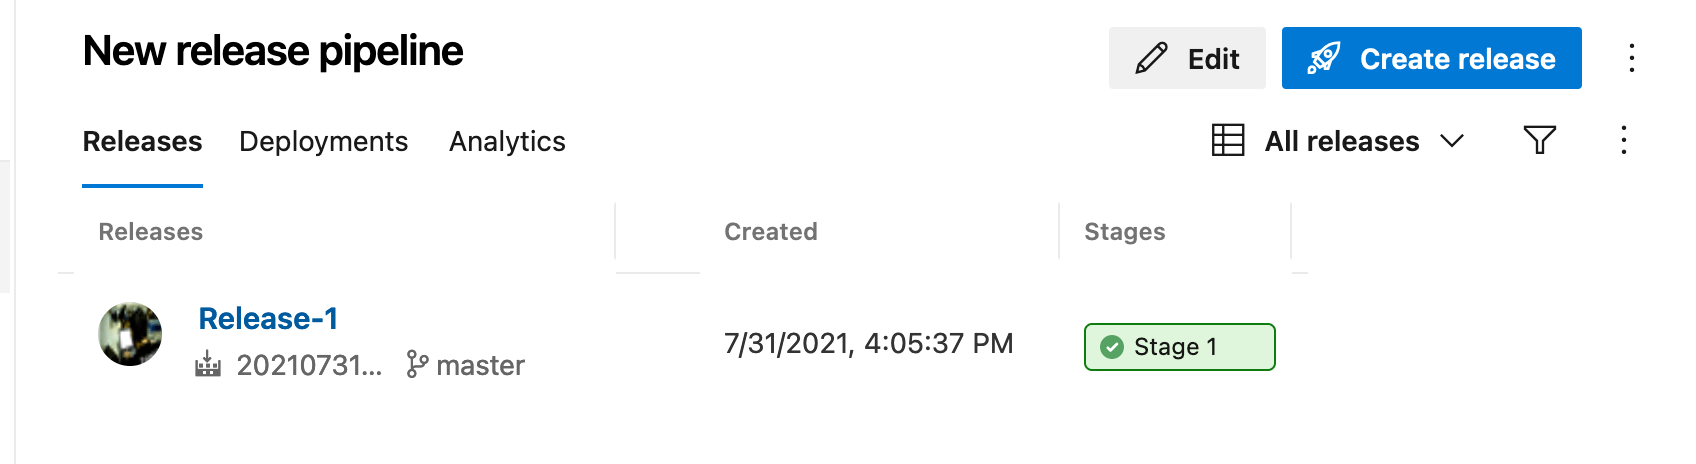
Following my previous article about how to update a variable group using POSTMAN, I will now document how to implement the same behavior through a pipeline.

First things first you will need a PAT. I have included this PAT in a different variable group than the one that I will update. this is because when you update the variable group, all the variables that are inside will get lost. If you need to retain them, you should have to get them first and then add them again on the variable group.

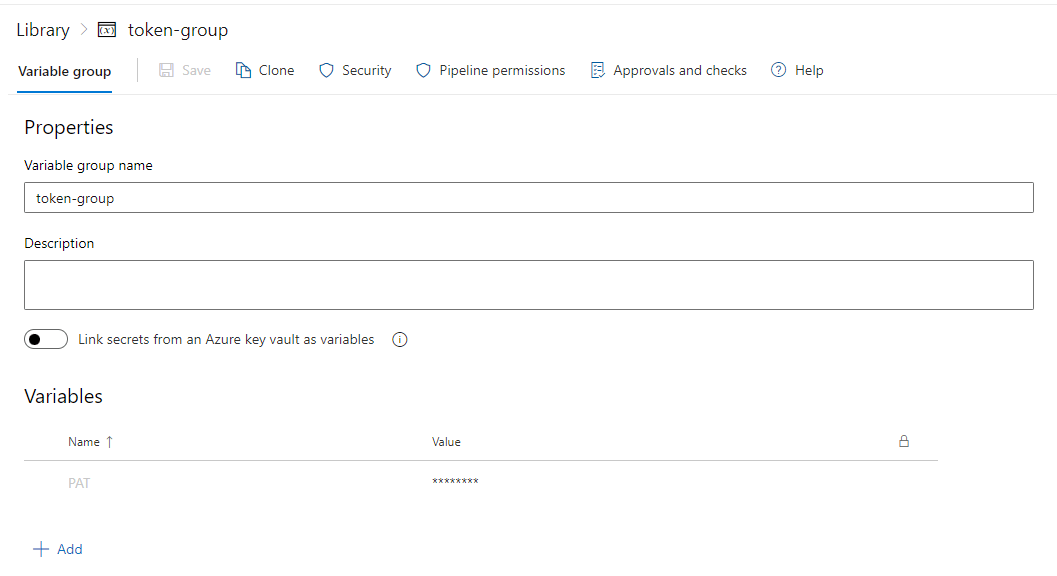
For this reason I have created a variable group named token-group which holds my PAT. I also made this variable a secret.

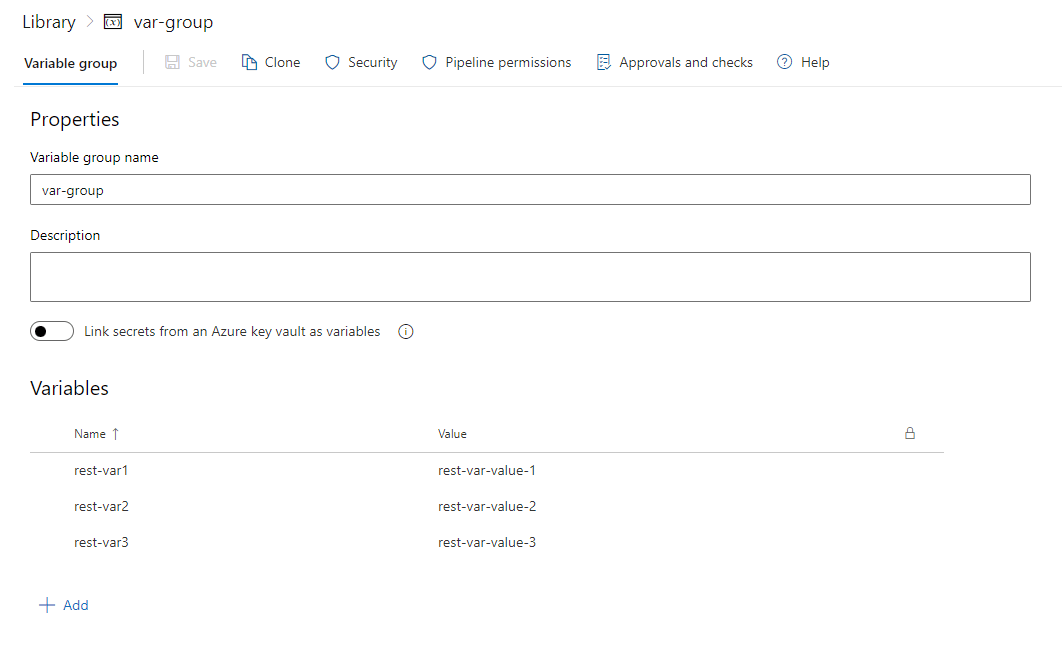
The variable group that I will update has the name of var-group and the id of 5.

The pipeline includes two tasks. The first task will loop through the variables on the group and print them out. The second task will update the variable group based on the JSON that you provided. You should change your ORG and project URLs.

trigger:
– none
pr: none
pool:
vmImage: ubuntu-latest
variables:
– group: token-group
steps:
– task: PowerShell@2
displayName: Get variables from variable-group
inputs:
targetType: 'inline'
script: |
$connectionToken="$(PAT)"
$base64AuthInfo= [System.Convert]::ToBase64String([System.Text.Encoding]::ASCII.GetBytes(":$($connectionToken)"))
$URL = "https://dev.azure.com/geralexgr/test-project/_apis/distributedtask/variablegroups?groupIds=5&api-version=7.1-preview.1"
$Result = Invoke-RestMethod -Uri $URL -Headers @{authorization = "Basic $base64AuthInfo"} -Method Get
$Variable = $Result.value.variables | ConvertTo-Json -Depth 100
Write-Host $Variable
– task: PowerShell@2
displayName: add variables on variable-group
inputs:
targetType: 'inline'
script: |
$connectionToken="$(PAT)"
$base64AuthInfo= [System.Convert]::ToBase64String([System.Text.Encoding]::ASCII.GetBytes(":$($connectionToken)"))
$URL = "https://dev.azure.com/GeralexGR/test-project/_apis/distributedtask/variablegroups/5?api-version=5.1-preview.1"
$body = '{"id":5,"type":"Vsts","name":"var-group","variables":{"rest-var1":{"isSecret":false,"value":"rest-var-value-1"},"rest-var2":{"isSecret":false,"value":"rest-var-value-2"},"rest-var3":{"isSecret":false,"value":"rest-var-value-3"}}}'
$Result = Invoke-RestMethod -Uri $URL -Headers @{authorization = "Basic $base64AuthInfo"} -Method Put -Body $body -ContentType "application/json"
$Variable = $Result.value.variables | ConvertTo-Json -Depth 100
Write-Host $Variable

After running the pipeline you will notice a null output on the update of the variable group. This is the requested result and as task has not failed your var group will get updated.

Variables inside json

Posted on Leave a comment

Create a release pipeline and deploy to local Kubernetes cluster with Azure Devops

On a previous article I described how you could create your self hosted agent to run your pipelines on Azure Devops. In this article I will explain how you can use this agent to deploy resources on your local Kubernetes cluster. As a prerequisite you should already have a kubernetes cluster locally. You can do that by installing Docker and enable the option for a kube cluster.

First things first you should connect your local Kubernetes cluster with Azure devops. For that reason you should go on Project settings -> Service connections and select Kubernetes

You can select between three different options. I selected kubeconfig

Get the output of the below command and paste it on the box. Then select untrusted certificates and add press verify and save.

kubectl config view --raw

Then you should go and create a release pipeline. Go on releases tab and press create release.

In the setup of the release pipeline you can change the trigger from automatic to manual. You should select your build pipeline that will trigger the release. In my case I selected the one I created on a previous article.

On the tasks of the release pipeline you should select the agent pool, as a result your self hosted agent. Depending on which pool you placed your agent you should add it appropriately. In my case it was on the default pool.

Then you can go and create the tasks of the release.

I chose two tasks, one for a deployment creation through kubectl commands and another one for a service exposure. You could also apply a .yml config file.

In this deployment I selected a sample image I created on a previous article, selected the namespace, added the requested parameters and selected create as the command. KubernetesConnection is the service connection that you will create and add on the first steps.

When you run the release pipeline you should see that the self hosted agent will be prepared for the run.

The job will start on your locally deployed agent.

The stages will start running.

Taken into account that everything is correct with your commands and configuration the job will be successful.

The green button of result indicate the win of your try.

Posted on Leave a comment

Automate your deployments with .gitlab-ci.yml and Openshift – Gitlab Devops

This article describes how to create a Gitlab CI/CD pipeline using gitlab-runner and docker as the build strategy in order to deploy microservices on Openshift.

On my previous articles I have explained how to create your own hosted gitlab instance and deploy a single CI/CD pipeline using gitlab-runner. The whole setup was based on containers, as a result the infrastructure needed can be deployed on Openshift as well.

The pipeline consists of three steps, housekeeping, staging and cleaning. It is based on the default example that gitlab provides and uses oc commands to communicate with Openshift. It is configured to be triggered only for develop branch and every time a new commit is added the build starts.

  • The housekeeping step will remove every resource that has been created from a previous build.
  • The staging step will build the microservices based on your Dockerfile instructions as the build strategy is set to docker.
  • The cleaning task will remove the building pods that have been created from Openshift.

The housekeeping step is allowed to fail so that if no resources are found, the building step will continue its work.

You can see below a simple run of the pipeline.

You can find the code of the pipeline in the below repository:

https://github.com/geralexgr/gitlab-cicd-openshift-deploy/blob/main/gitlab-ci.yml