Posted on Leave a comment

Error while proxying request: getting credentials: exec: executable kubelogin not found

For those who do not know Lens, it is a powerful IDE tool for managing Kubernetes. When it comes to k8s administration, sometimes command line would be a pain for engineers so various companies create tools that can provide the same functionality with a modern GUI. Such tool is Lens and you can find it using the link below.

https://k8slens.dev/

After you setup Lens you may encounter an error when you try to connect to your k8s cluster.

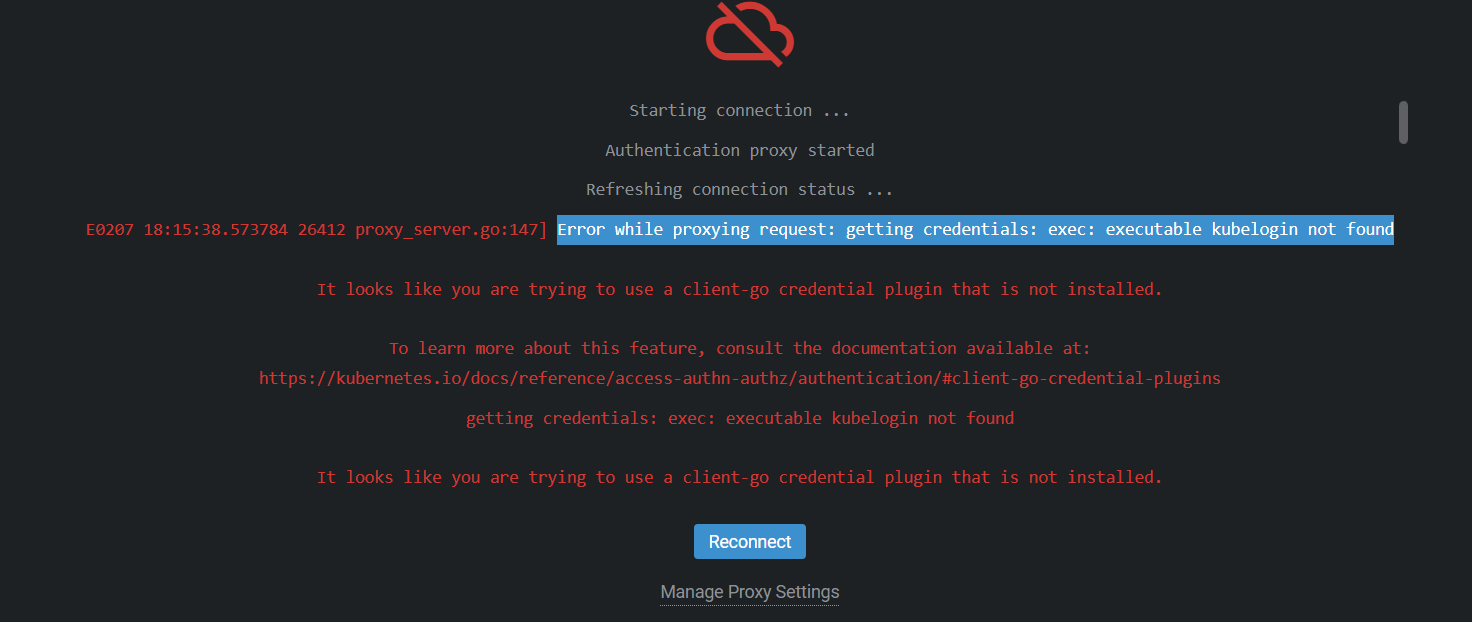
The error indicates that you are missing kubelogin tool. You can verify that by typing kubelogin –version in the command line. If you get an error you should go and install the tool.

Following the instructions provided by the documentation you will be able to install kubelogin.

https://github.com/Azure/kubelogin

I personally used the setup for windows through powershell.

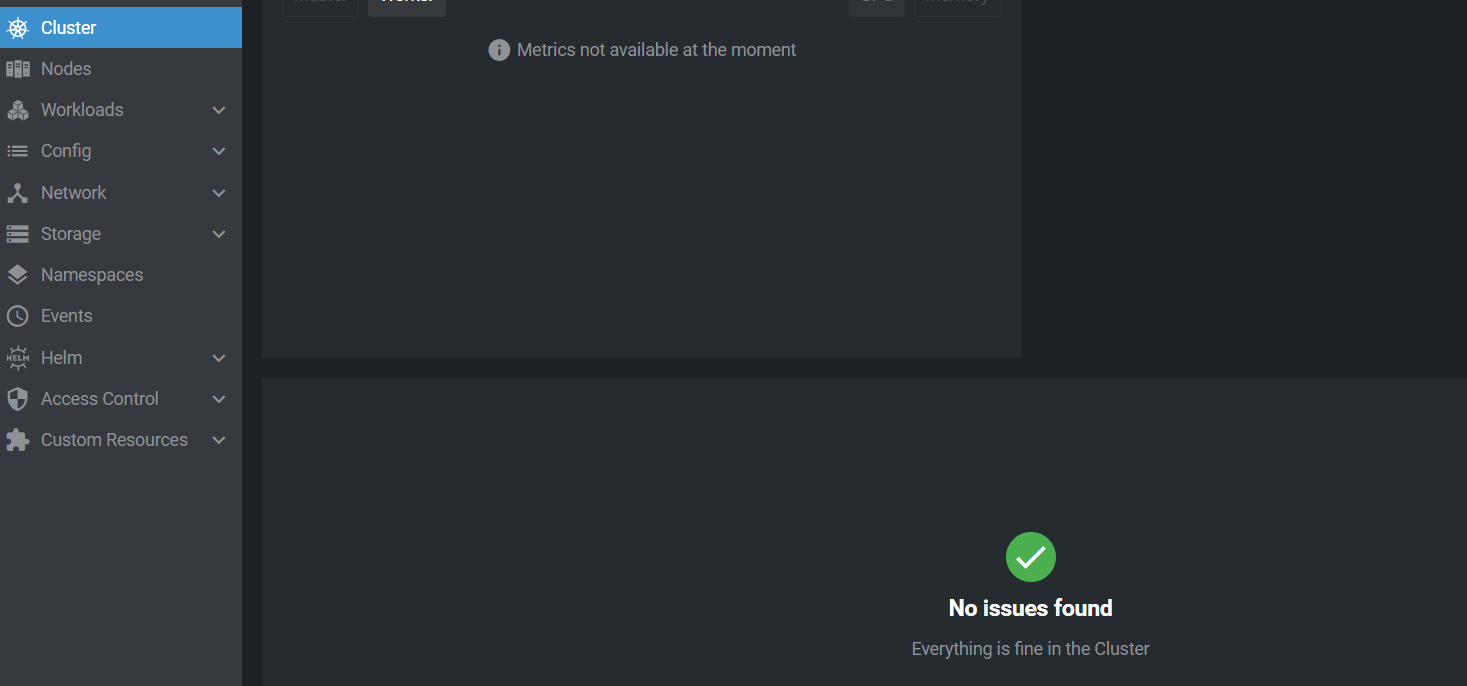
After you install kubelogin, close and open the application again so that the PATH settings get updated. Finally you will be able to browse your cluster with Lens.

Posted on Leave a comment

error NU1202: Package PowerShell 7.3.0 is not compatible with net6.0

When you use pwsh or powershell core (the newest version of powershell) you may face a problem regarding the compatibility with .NET 6.

Installing PowerShell on Windows – PowerShell | Microsoft Learn

PowerShell 7.3 installs to a new directory and runs side-by-side with Windows PowerShell 5.1. PowerShell 7.3 is an in-place upgrade that replaces PowerShell 7.0 and lower.

Error:

error NU1202: Package PowerShell 7.3.0 is not compatible with net6.0 (.NETCoreApp,Version=v6.0) / any. Package PowerShell 7.3.0 supports: net7.0 (.NETCoreApp,Version=v7.0) / any
The tool package could not be restored.
Tool ‘powershell’ failed to install. This failure may have been caused by:

* You are attempting to install a preview release and did not use the –version option to specify the version.
* A package by this name was found, but it was not a .NET tool.
* The required NuGet feed cannot be accessed, perhaps because of an Internet connection problem.
* You mistyped the name of the tool.

Solution:

In order to resolve the error you should install .NET 7.

Download .NET 7.0 (Linux, macOS, and Windows) (microsoft.com)

Posted on Leave a comment

Add variable to PATH inside windows container – reload env variables

In a previous article I explained how you can add python on PATH when you install it on a windows container image.

However if you try to use the python verb immediately you may face a problem that variable is not recognized.

In order to resolve this issue you will have to reload the environmental variables so that change reflects the current powershell session that you use.

By performing the below powershell command you can reload env variables and continue the execution of your scripts with variables reloaded.

$env:Path = [System.Environment]::GetEnvironmentVariable("Path","Machine") + ";" + [System.Environment]::GetEnvironmentVariable("Path","User")
Posted on 2 Comments

Create single image layers with docker squash

Docker images consist of layers, a mechanism that will result in lower build time for your containers. A detailed article about how layers work on docker can be found in the below url.

https://vsupalov.com/docker-image-layers/

  • Each layer is an image itself, just one without a human-assigned tag. They have auto-generated IDs though.
  • Each layer stores the changes compared to the image it’s based on.
  • An image can consist of a single layer (that’s often the case when the squash command was used).
  • Each instruction in a Dockerfile results in a layer. (Except for multi-stage builds, where usually only the layers in the final image are pushed, or when an image is squashed to a single layer).
  • Layers are used to avoid transferring redundant information and skip build steps which have not changed (according to the Docker cache).

But what if you want to combine all the layers of an image into one single piece? This is why squash has been created.

How –squash works

Once the build is complete, Docker creates a new image loading the diffs from each layer into a single new layer and references all the parent’s layers. In other words: when squashing, Docker will take all the filesystem layers produced by a build and collapse them into a single new layer.

Build image without squash

docker build . -t test

Build image with squash

docker build . -t test1 --squash

In order to use squash command you will need to have experimental features enabled.

Navigate in docker desktop settings and in Windows (which is what I currently use) you should go on Docker Engine tab and change the experimental value to true.

After that you can run your docker command using —squash