For testing purposes I had to deploy a wordpress installation and perform some work. As the standalone installation with wamp/mamp/xampp software would require time, I chose docker and containers for the deployment.
You can use the below docker-compose.yml file and have a working site stack in less than a minute.
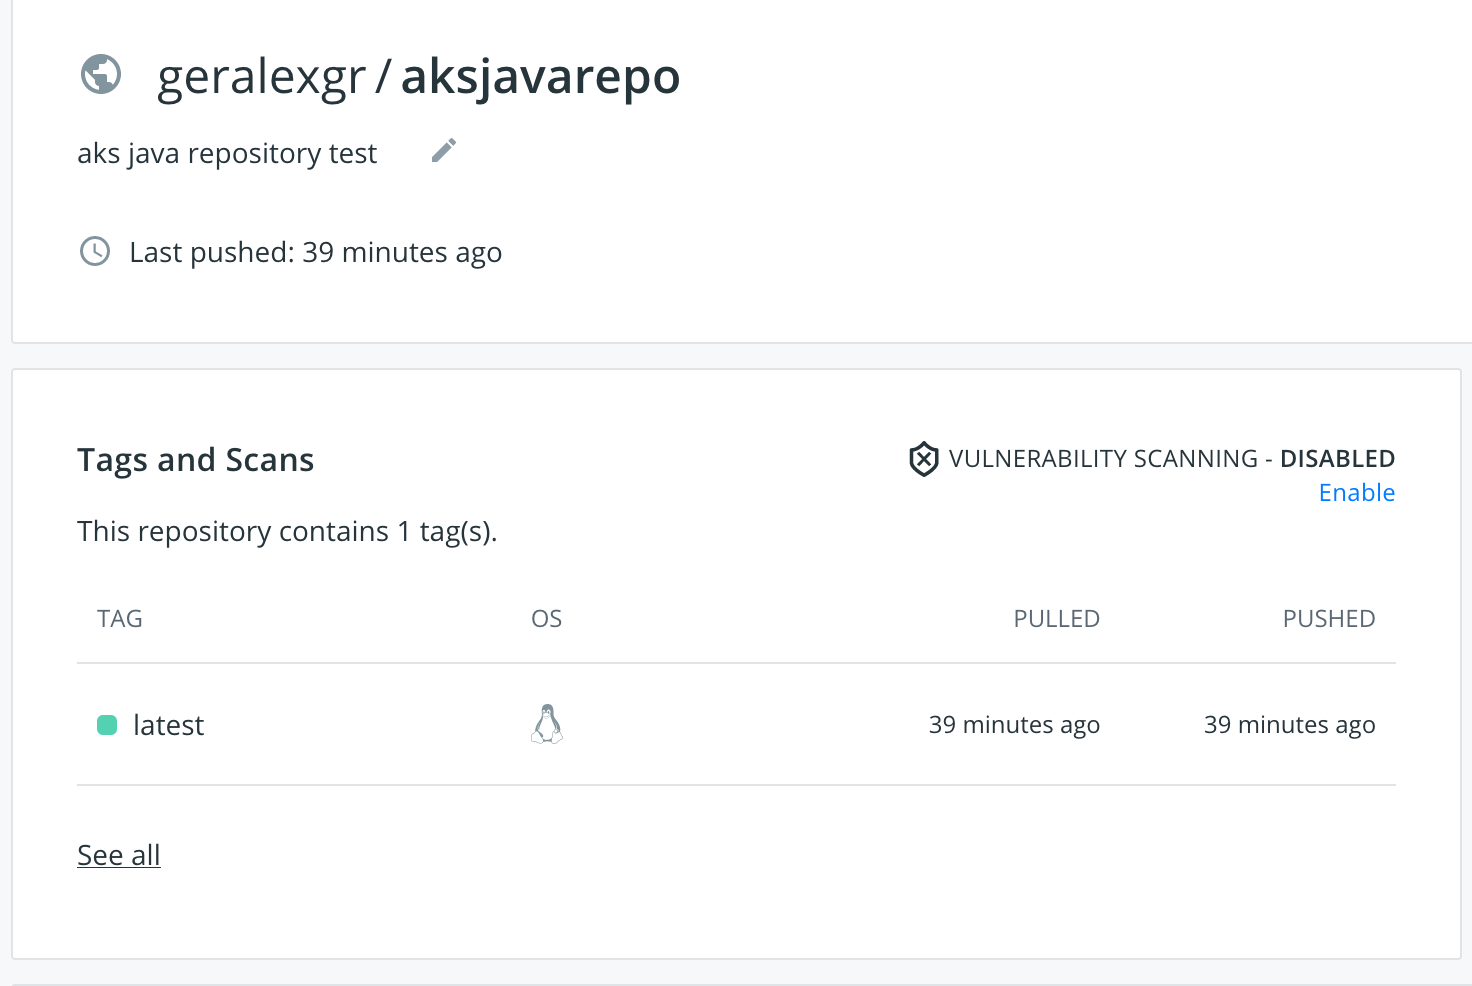
Azure Devops is the powerful Microsoft product for Devops solutions. In this article I will explain how you can create a build pipeline using predefined actions and tools provided in order to push an image to an external repository like Docker hub.
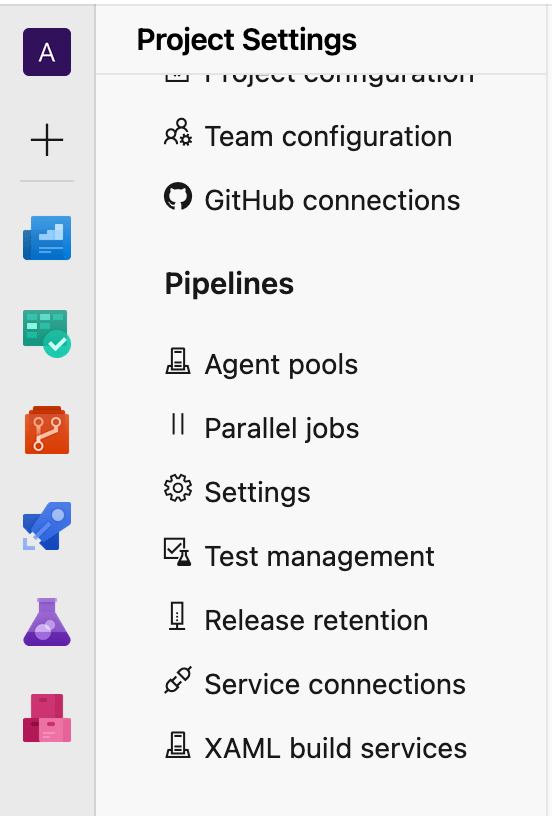
As a first step you should create two new service connections. As I am using Github, the one will be a github connection and a docker hub connection. To accomplish that you should go to project settings -> service connections and connect your accounts with your password credentials.
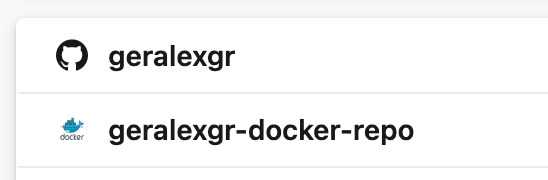
When you complete this step, the connected accounts will appear.
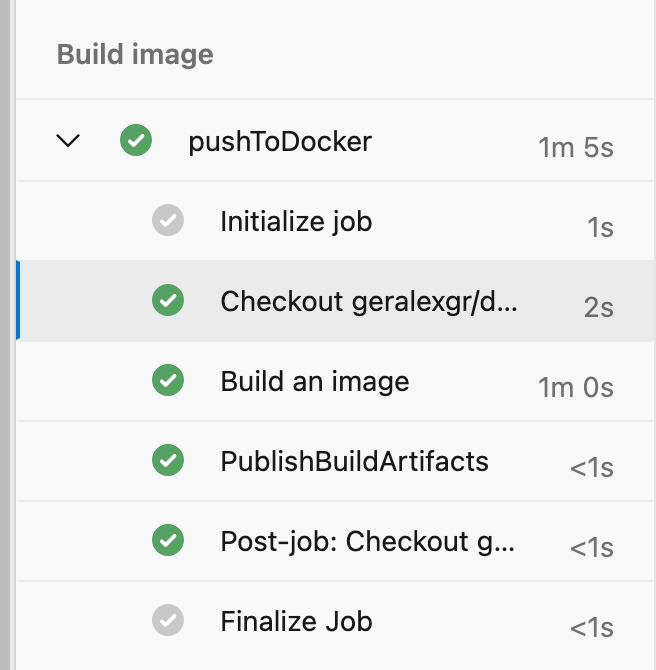
Then you should go to pipelines menu and create a new one. My pipeline has the name main-pipeline.
Azure Devops provides a large list of predefined tasks that will make your implementation easier and quicker. In my case I selected the build of a Dockerfile that will be listed in the Github repository.
In more detail the code will be checkout from the repository and the image will be created using a building machine that Azure provides from a shared pool of agents.
In order to create a CI/CD pipeline with gitlab built-in functionality you should firstly create the appropriate .gitlab-ci.yml file. This is the file on which the steps will be described for the pipeline.
This file should be placed on the root structure of the branch and every time a commit is pushed on the remote repository the steps will run. Instructions have been provided from gitlab and can be found here
For this example I chose gitlab runner as the building tool and the deployment method of a docker container.
In order to install gitlab runner as a container perform the below steps:
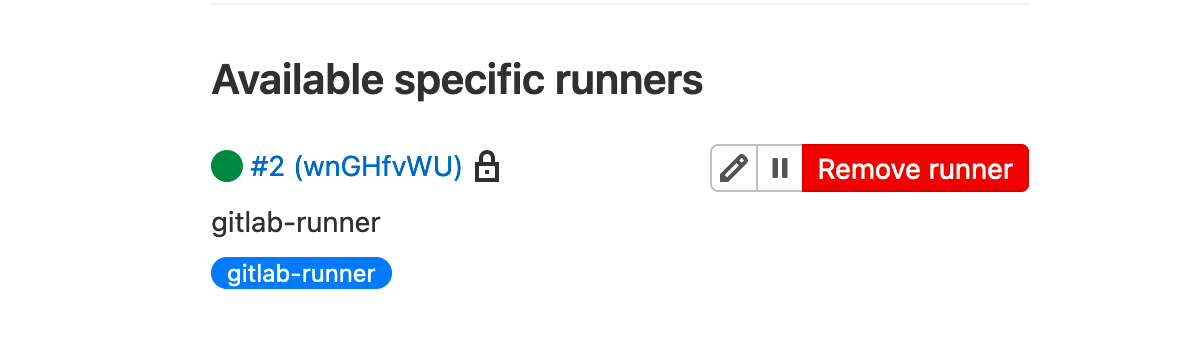
Register gitlab with your runner. You should get the registration token and runner url from your repository settings.
Inspect container and press gitlab-runner register
Start the runner
gitlab-runner start
The runner should have been registered on your gitlab environment
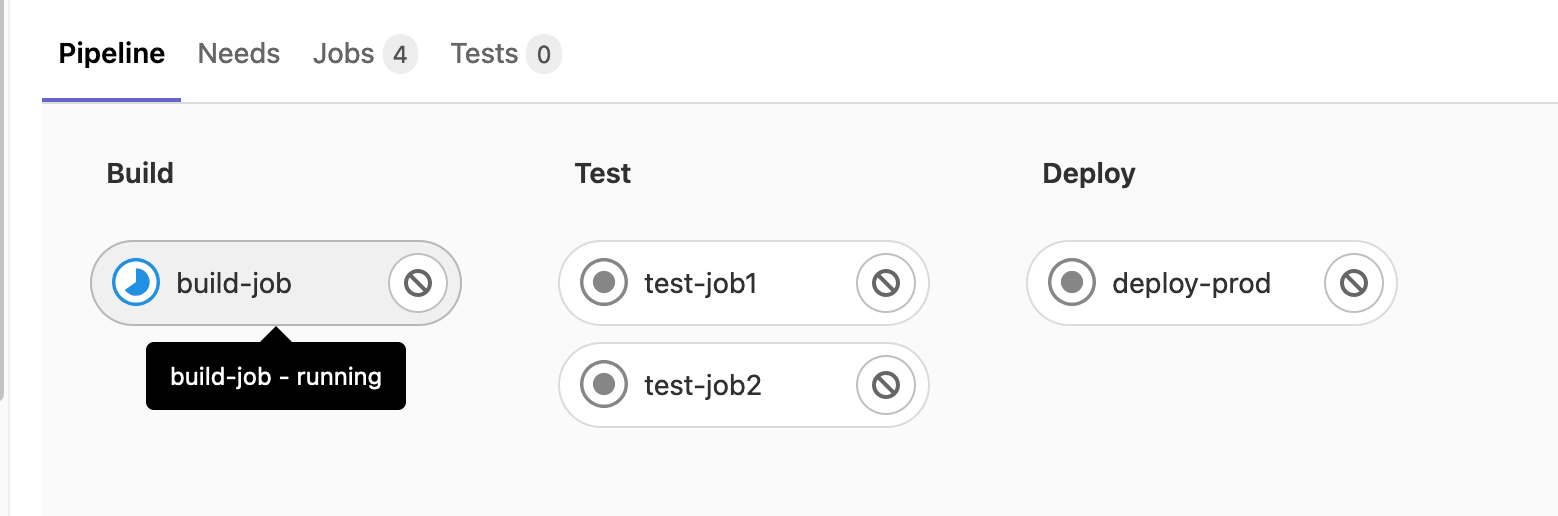
Perform a commit and push changes to your repository
The run task should have started
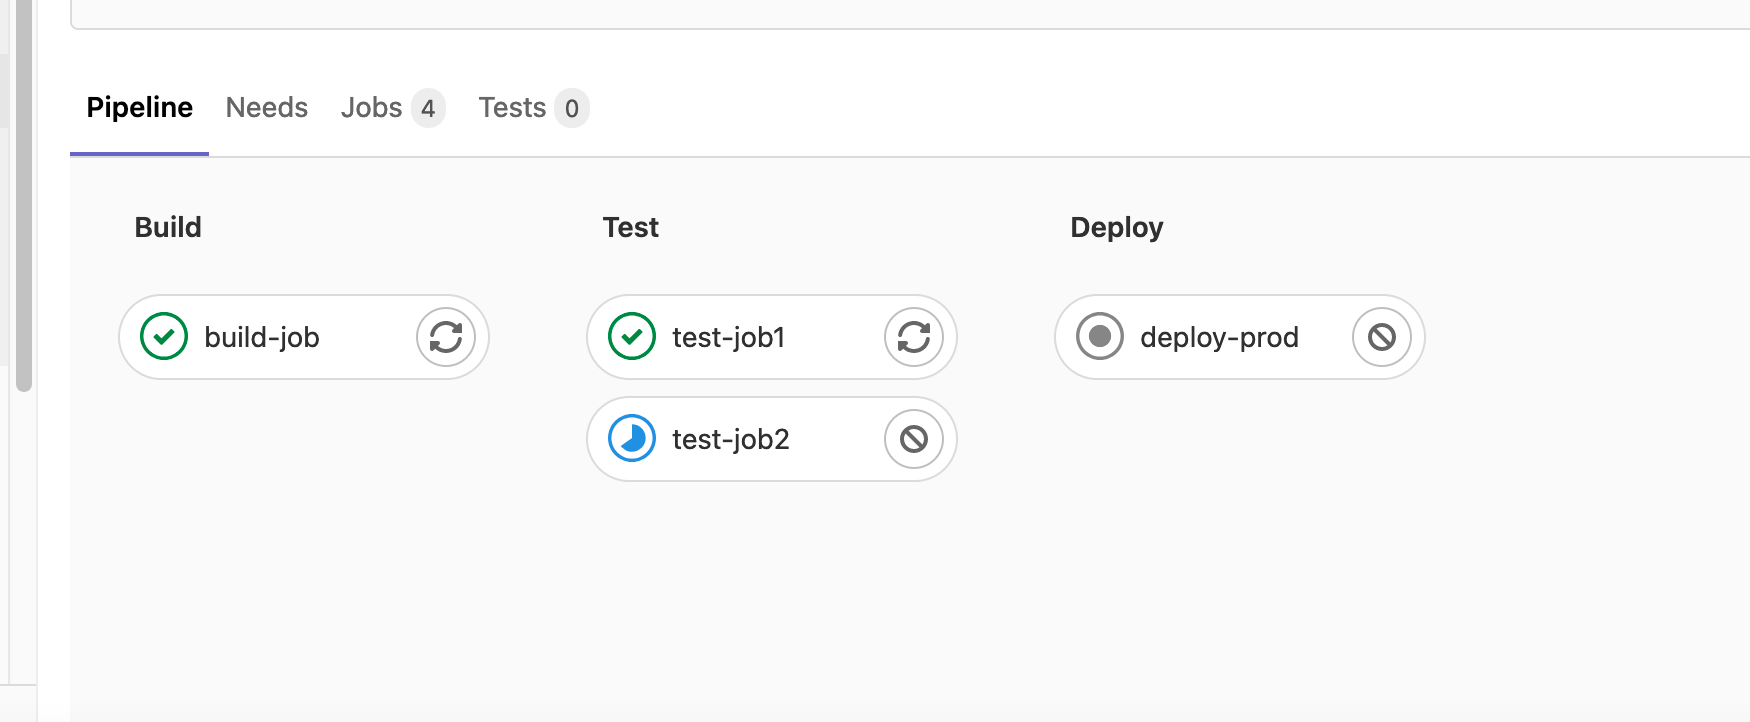
Check the pipeline and see its status
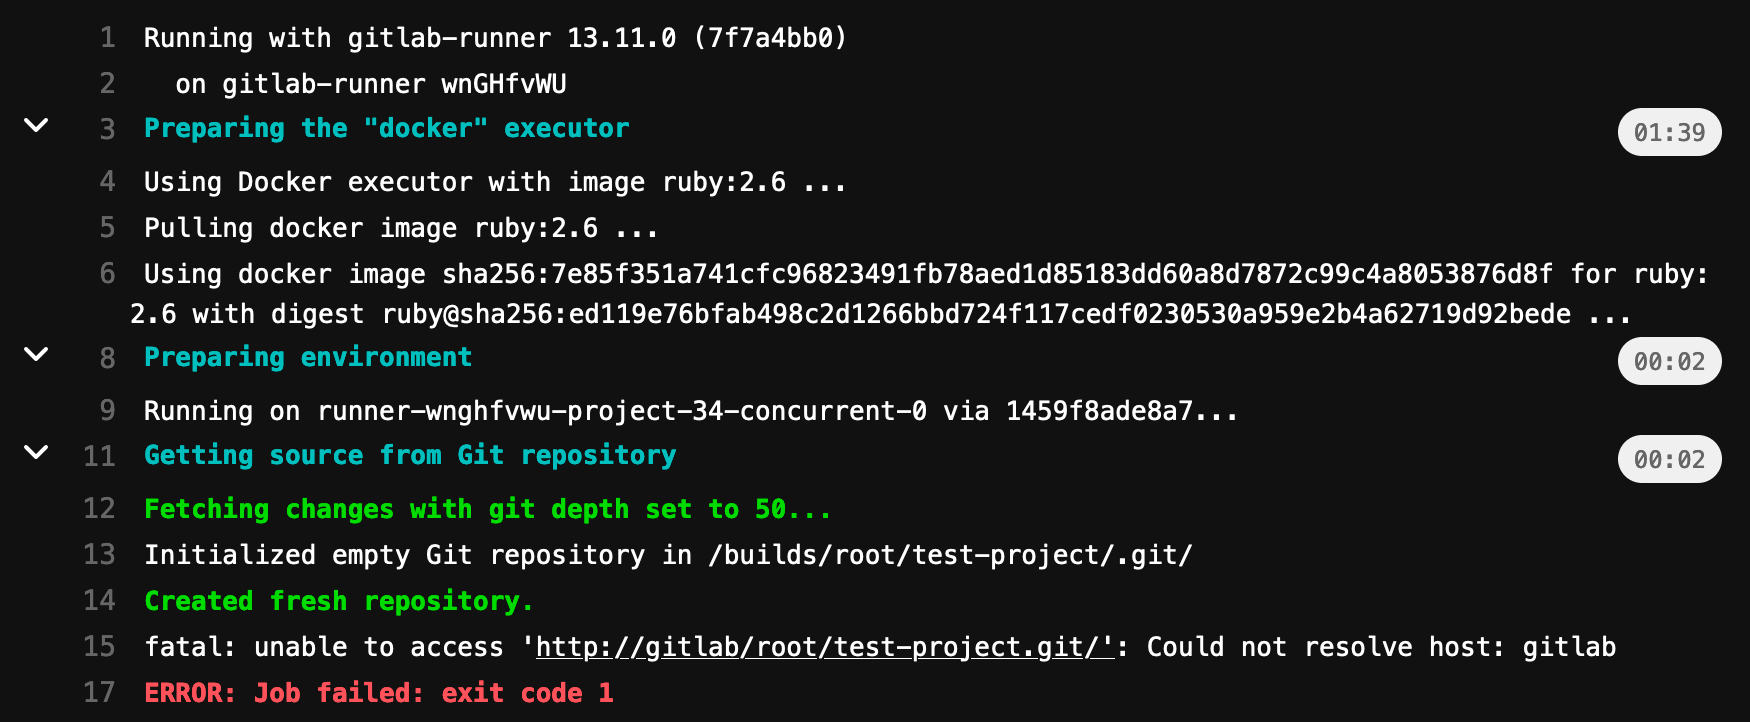
The job was not succesful and by checking the logs I could verify that DNS resolution could not be enstablished.
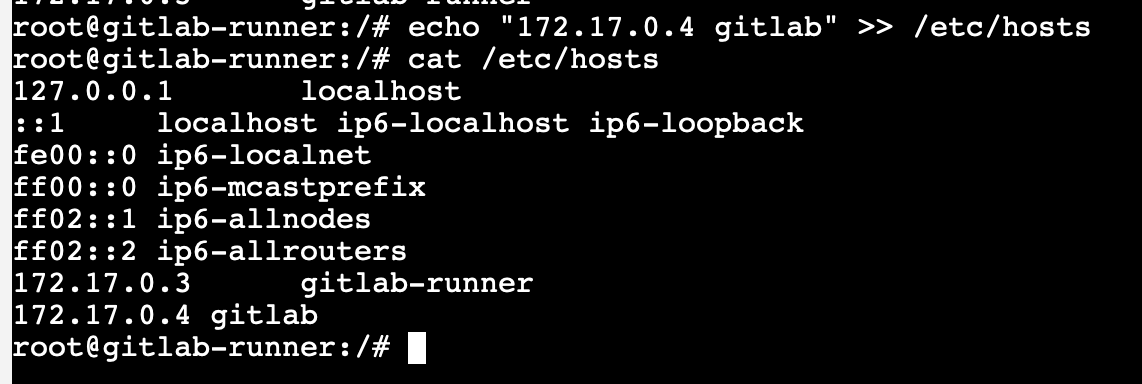
In order to fix that you should add an entry for your named gitlab container to your gitlab runner. Unfortunately there are no tools like vim, nano installed on gitlab-runner. However you can bypass this by echoing a value in your /etc/hosts file.
It is also important that your local computer can resolve by fqdn your gitlab deployment. This is necessary because docker should be able to read this entry and perform actions on it.
After those changes you will be able to run your pipeline successfully.
Portainer is a fantastic tool that includes a GUI in order to manage your container workloads easier than with command line. It is free to use with a community edition and the documentation describes the installation which will take one approximately 5 minutes to complete.
In this article I will show you how to use portainer and its GUI to deploy a gitlab container on your setup.
If you use the default setup instructions then your instance will be created on localhost under 9000 port.
You can access it on http://127.0.0.1:9000/ where you will be prompted to login with the credentials you specified during the initial setup.
Under containers you can create a new container by clicking the add container button
Under volumes you should create a new persistent volume which will be consumed from gitlab for data saving operations.
persistent volume creation for gitlab container
You can either create a new container and specify the dockerHub location or pull the image first and then use it to deploy your instance. I preferred the second way so I pulled the image locally.
docker pull gitlab/gitlab-ce
When completed you should see the below message
From containers press +Add new container. Set up the requested name (gitlab) and specify the image.
According to the documentation three partitions are needed in order to store data for gitlab.
Under env variables add the needed value as described from Gitlab documentation. Personally I used /Users/username/Documents/Gitlab on my computer.
Press deploy container and the creation procedure should start.
When you first launch your container by checking the logs you will verify that the installation steps are running. This operation should take up to 5-10 minutes.
Then you will see your container running. Stop container and perform also the below configurations:
From restart policies, select always:
From ports configuration add the below bindings (80:80, 443:443)
By mapping ports 80 and 443 to your host you will be able to access gitlab from your browser using localhost:80.
Add also your hostname and domain from network tab.
When the deployment is finished, if you access the localhost address you will see the setup screen.
You can find instructions on how to install gitlab through cli or dockerfile from gitlab
The default username that should be used to login is root.
In order to verify that persistent storage is working as expected, create a new test project, commit a file, close container and then start it again.
Stop container
Login to Gitlab again, and your test-project should be there for you.