In this article I will demonstrate how you can write a simple .NET console application to write data inside a blob container on an Azure storage account.
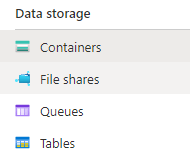
Storage accounts support the below four data structures.
For the cases of an application, I had to write every x seconds data on a file in order to get the coordinates of an app. For this purpose I selected a storage account container on which I will store the Latitude and Longitude in a .json format.
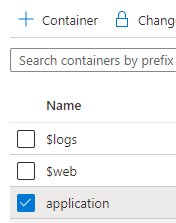
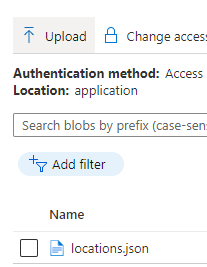
Inside my storage account I created a container which I will use named application.
Inside application container I created a file named locations.json. This will be the file that will get updated from the mobile app.
My console app consists of two .cs files. One is the location class which will be my model for the serialization.
   public class Location
    {
        public Double Latitude { get; set; }
        public Double Longitude { get; set; }
    }
And the main code which consists of two functions. The RetrieveBlobContents function can read the stream content of a requested file from the blob. As I have specific names for my scenario, I hard coded them on the application. My containerName is application and the file which I want to read is called locations.json
The WriteContentOnBlob function will serialize a random Location object and will update the file every 5 seconds. The result is accomplished by writing a file locally and pushing this local file on the blob storage. The content of the file will be first extracted on the current directory/data folder.
Program.cs
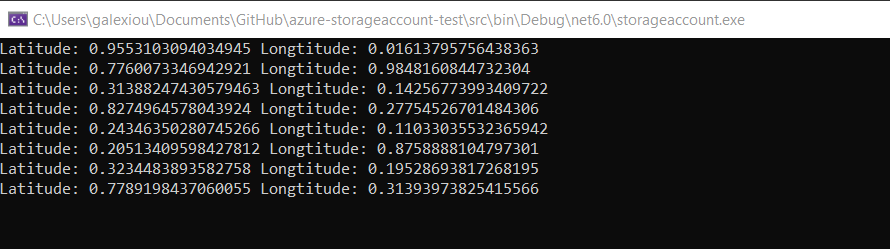
By running the application the values will be replaced every time on the locations.json file.