Posted on Leave a comment

Deploy App Service .zip website folder on Azure with cmd

In a recent scenario I had an app service on which I wanted to deploy a .zip package with the appropriate code.

My app service was based on .NET 6 backend and I created an emtpy REST api project to host the app service.

Command to deploy through az cli.

az webapp deploy --resource-group "app-service-rg" --name "geralexgr-webappstatic" --src-path C:\Users\galexiou\Desktop\netwebapp.zip --type zip

Result of deployment through az cli.

On Deployment center logs you can verify your deployment.

Then you can use your website url to get the content of the deployed site. For the .NET rest api default project I should have to get the

url/weatherforecast
Posted on Leave a comment

Build Service Fabric .NET applications with CMD and Azure DevOps

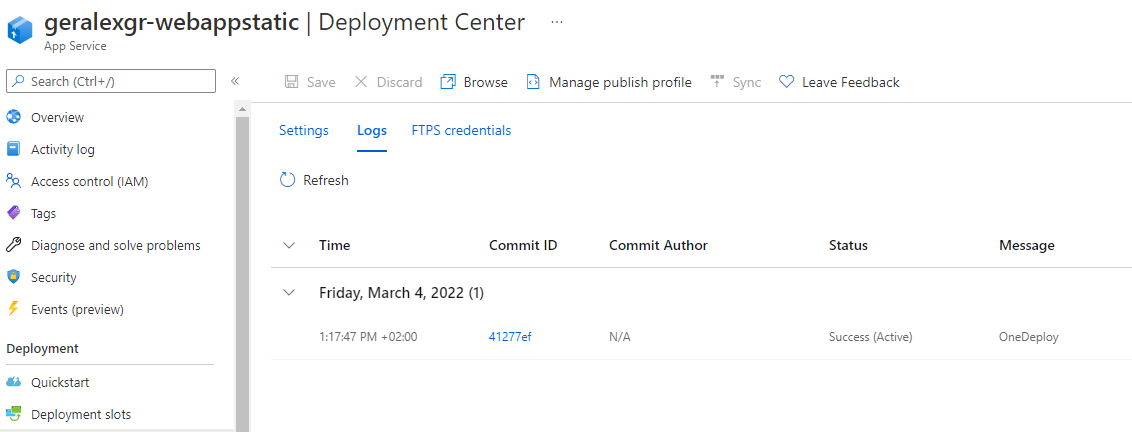
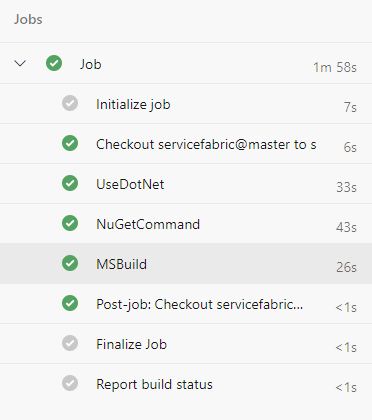
In this guide I will explain how to build a service fabric solution using cmd and also Azure DevOps to automate your deployments.

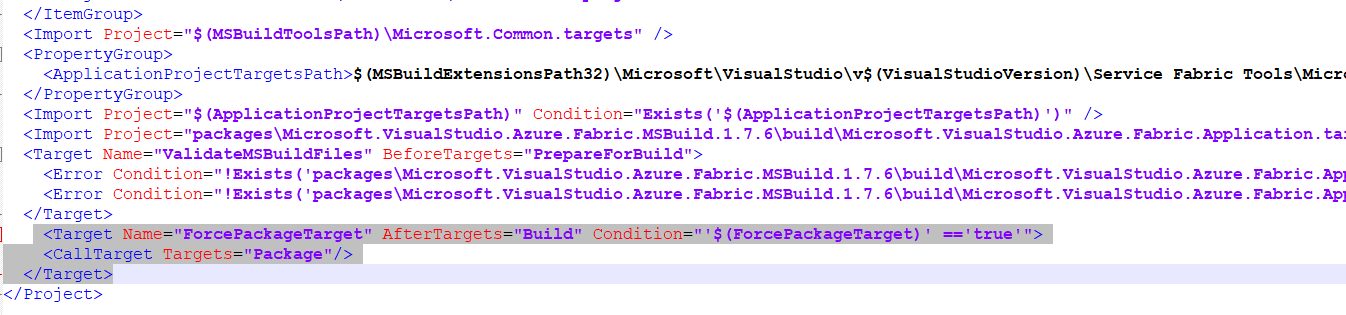
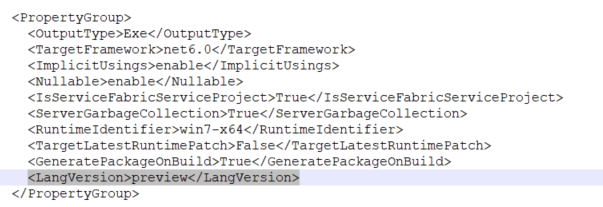
Given that you already have in place your Service Fabric solution, you should edit and add the below Target directive on your .sfproj file inside your visual studio solution.

This is needed in order to create the package that will be deployed on the service fabric cluster.

<Target Name="ForcePackageTarget" AfterTargets="Build" Condition="'$(ForcePackageTarget)' =='true'">
    <CallTarget Targets="Package"/>
  </Target>

That’s all. With this option enabled you can now perform a build using the msbuild tool. You should edit servicefabric.sln to reflect your project name.

msbuild servicefabric.sln /t:Build /p:ForcePackageTarget=true /p:Configuration=Debug /p:Platform=x64

The package output will be located on solution/pkg folder depending on your build configuration specified on the command line (Debug, Release).

In order to automate this procedure, you will have to create your pipeline and place it on your repository.

Three steps are needed in order to build your service fabric solution.

  • Firstly you should download the latest .NET version if your project targets .NET 6. If not, then you should select another version.
  • Secondly you should restore your Nuget packages on your solution in order to reference any services that come with the application.
  • The third step is the actual build using the msbuild task.

The example pipeline is shown below:

trigger:
- none

pr: none
pool:
  vmImage: windows-latest

steps:
- task: UseDotNet@2
  inputs:
    packageType: sdk
    version: '6.0.x'


- task: NuGetCommand@2
  inputs:
    command: 'restore'
    restoreSolution: '**/*.sln'
    feedsToUse: 'select'

- task: MSBuild@1
  inputs:
    solution: '**\*.sln'
    msbuildArchitecture: 'x64'
    configuration: 'release'
    msbuildArguments: '/p:ForcePackageTarget=true'
    clean: true

In order to get this pipeline working with .NET 6, you should edit Stateless1.csproj and add also LangVersion.

The output of the build will be located on pkg folder.

Finally you could create a release pipeline and upload the artifacts pkg directory on your service fabric cluster.

Microsoft Documentation for service fabric deployments:

https://docs.microsoft.com/en-us/azure/service-fabric/service-fabric-package-apps

Youtube video:

Posted on Leave a comment

Ansible Privilege Escalation win_command – refresh Windows Update Service

When you have ansible deployed it is easy to perform massively actions on your inventory hosts. On a previous article I have explained in detail how you can easily manage Windows machines with Ansible.

In order to refresh Windows update service and make it connect to WSUS reporting console one should execute the below commands on a range of machines.

wuauclt /resetauthorization
wuauclt /reportnow
wuauclt /detectnow

In order to perform this task automated and avoid logging in on each machine, you can execute the below playbook.

---
- name: deploy commands on servers
 hosts: test
 become: true
 tasks:
 name: win_command resetauth
 win_command: wuauclt /resetauthorization
 name: win_command report
 win_command: wuauclt /reportnow
 name: win_command detect
 win_command: wuauclt /detectnow 

If you run this playbook without elevated privileges, it will fail. The necessary variables that must be included in your inventory or another appropriate location are listed below (folder variables, etc). The become keyword is a must but the escalation method must be changed instead of sudo as we handle windows machines.

 [all:vars]
 ansible_connection = winrm
 ansible_user = administrator
 ansible_become_user=administrator
 ansible_become_method=runas