Group variables is a functionality provided by Azure pipelines that let one handle a lot of variables as one entity. It also supports key vault integration but also secrets on comparison with the standard pipeline variables which should not be used as secrets according to Microsoft, as their value can be seen.
In this article I will describe how you can use variable groups for different deployments based on the environment you work. For example the company may want to differentiate the variables for a product on the test and production version. This could be injected and handled on the pipeline accordingly with group variables and parameters.
This article refers to a product which has the same variables (version, password, environment) on test and prod, but their values are different.
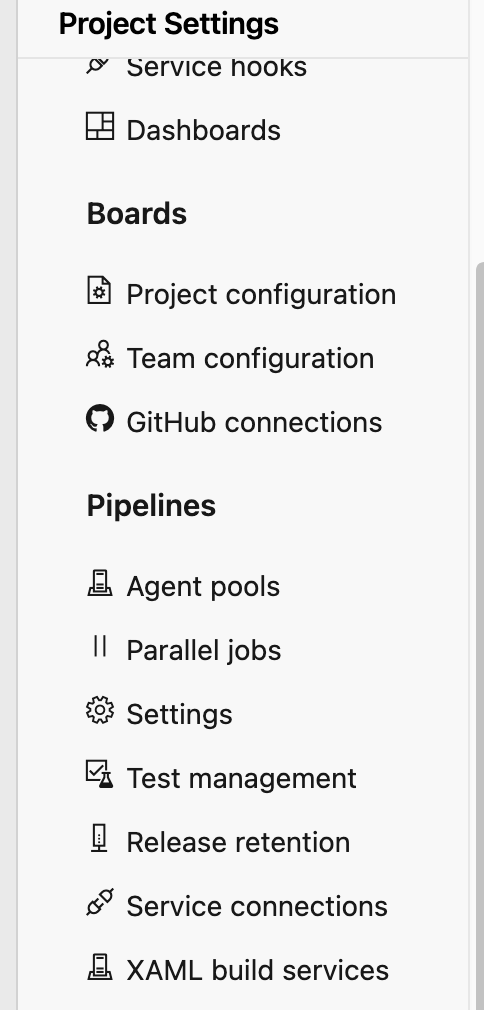
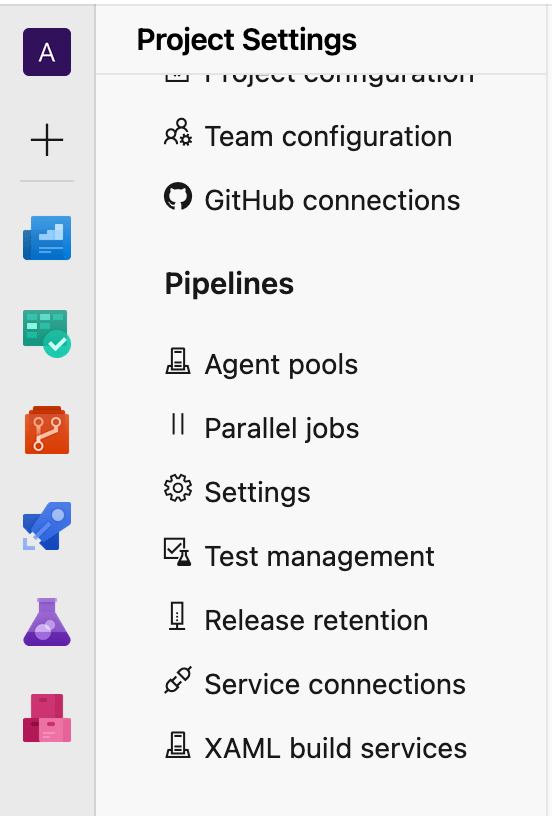
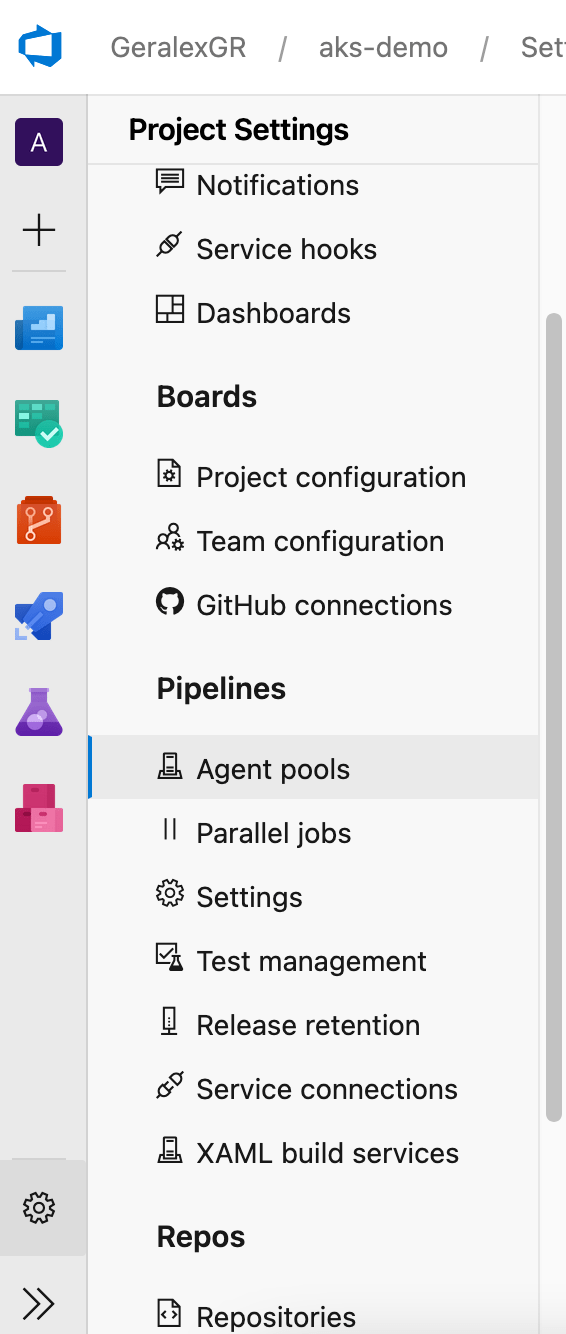
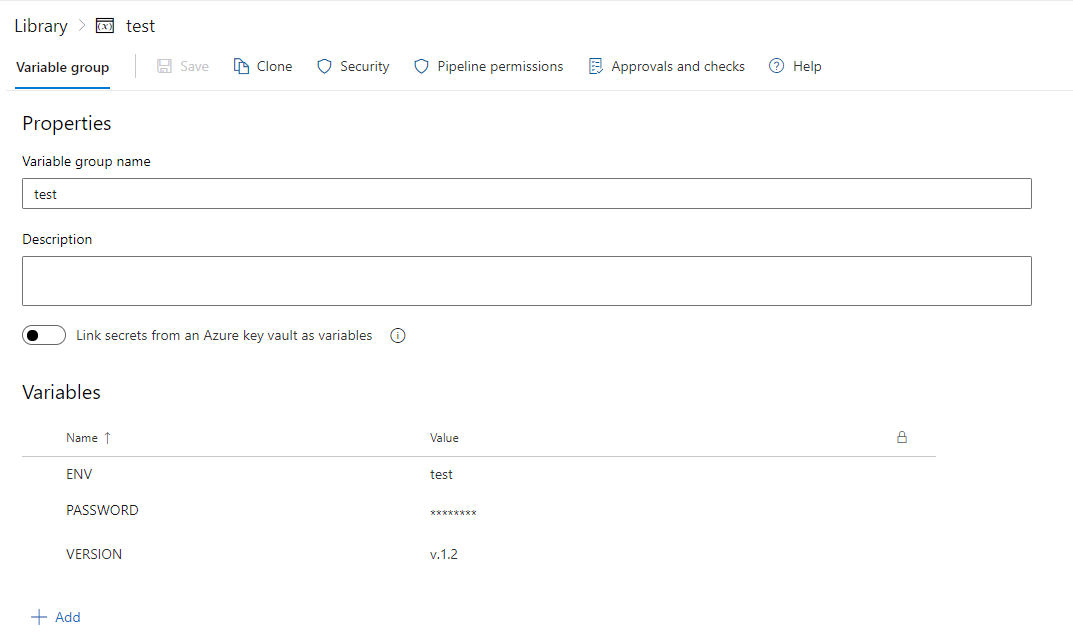
In order to create a variable group you should go to Pipelines -> Library -> +Variable group.
The values which I provided on prod variable group are below:

Accordingly the same values exist for test.
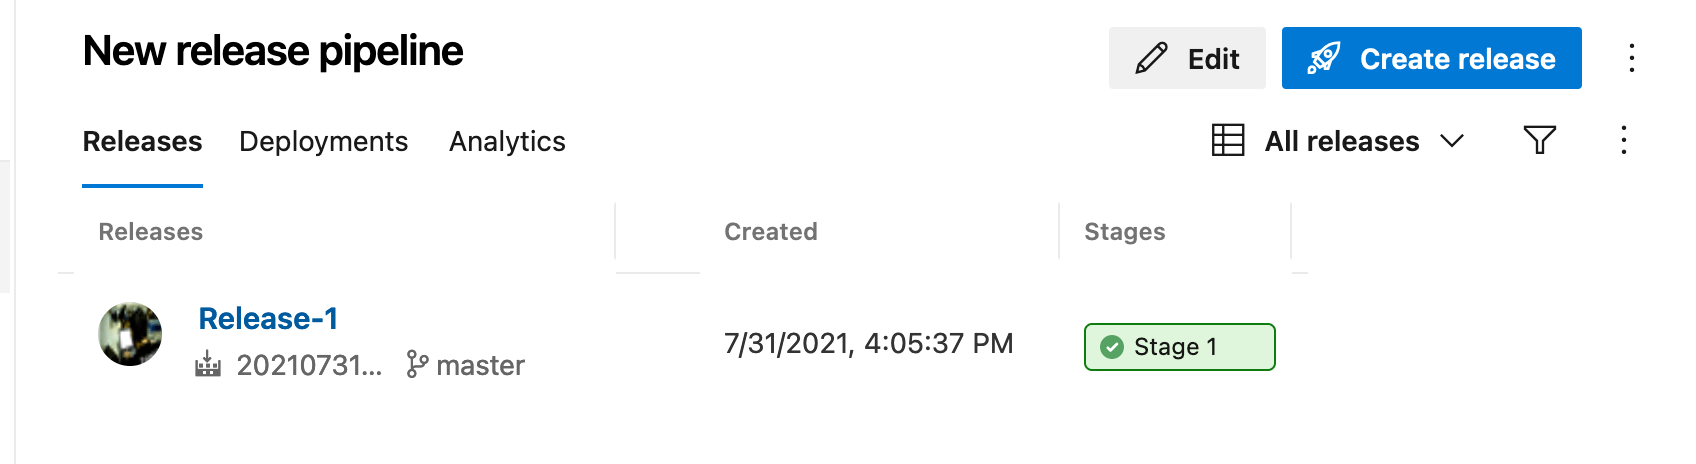
The pipeline will trigger when a commit is merged on the main branch.
trigger:
- main
parameters:
- name: environment
displayName: Where to deploy?
type: string
default: test
values:
- prod
- test
pool:
vmImage: ubuntu-latest
variables:
- group: ${{parameters.environment}}
steps:
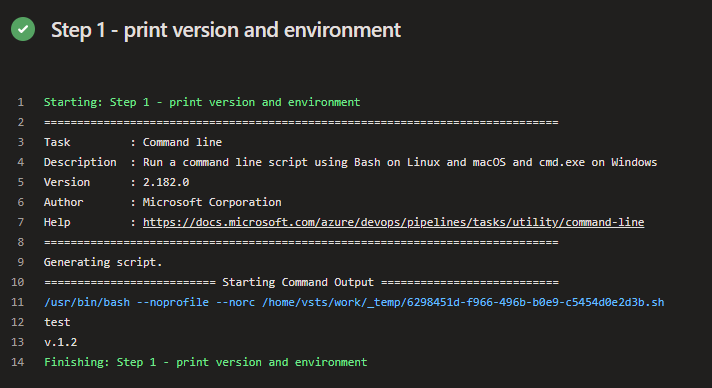
- script: |
echo $(ENV)
echo $(VERSION)
displayName: Step 1 - print version and environment
- script: echo $(PASSWORD)
displayName: Step 2 - print secret
- script: pwd ENV ${{parameters.environment}}
displayName: Step 3 - print parameter
By running the pipeline the type of environment will be asked
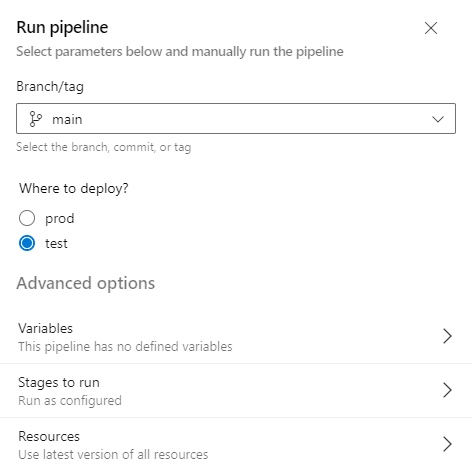
Depending on the selected input, the group variables of the specific category will be printed. If I run with test as input then I will get the test version and env variable.